A one of a kind custom painted bike: An ode to French Terroir
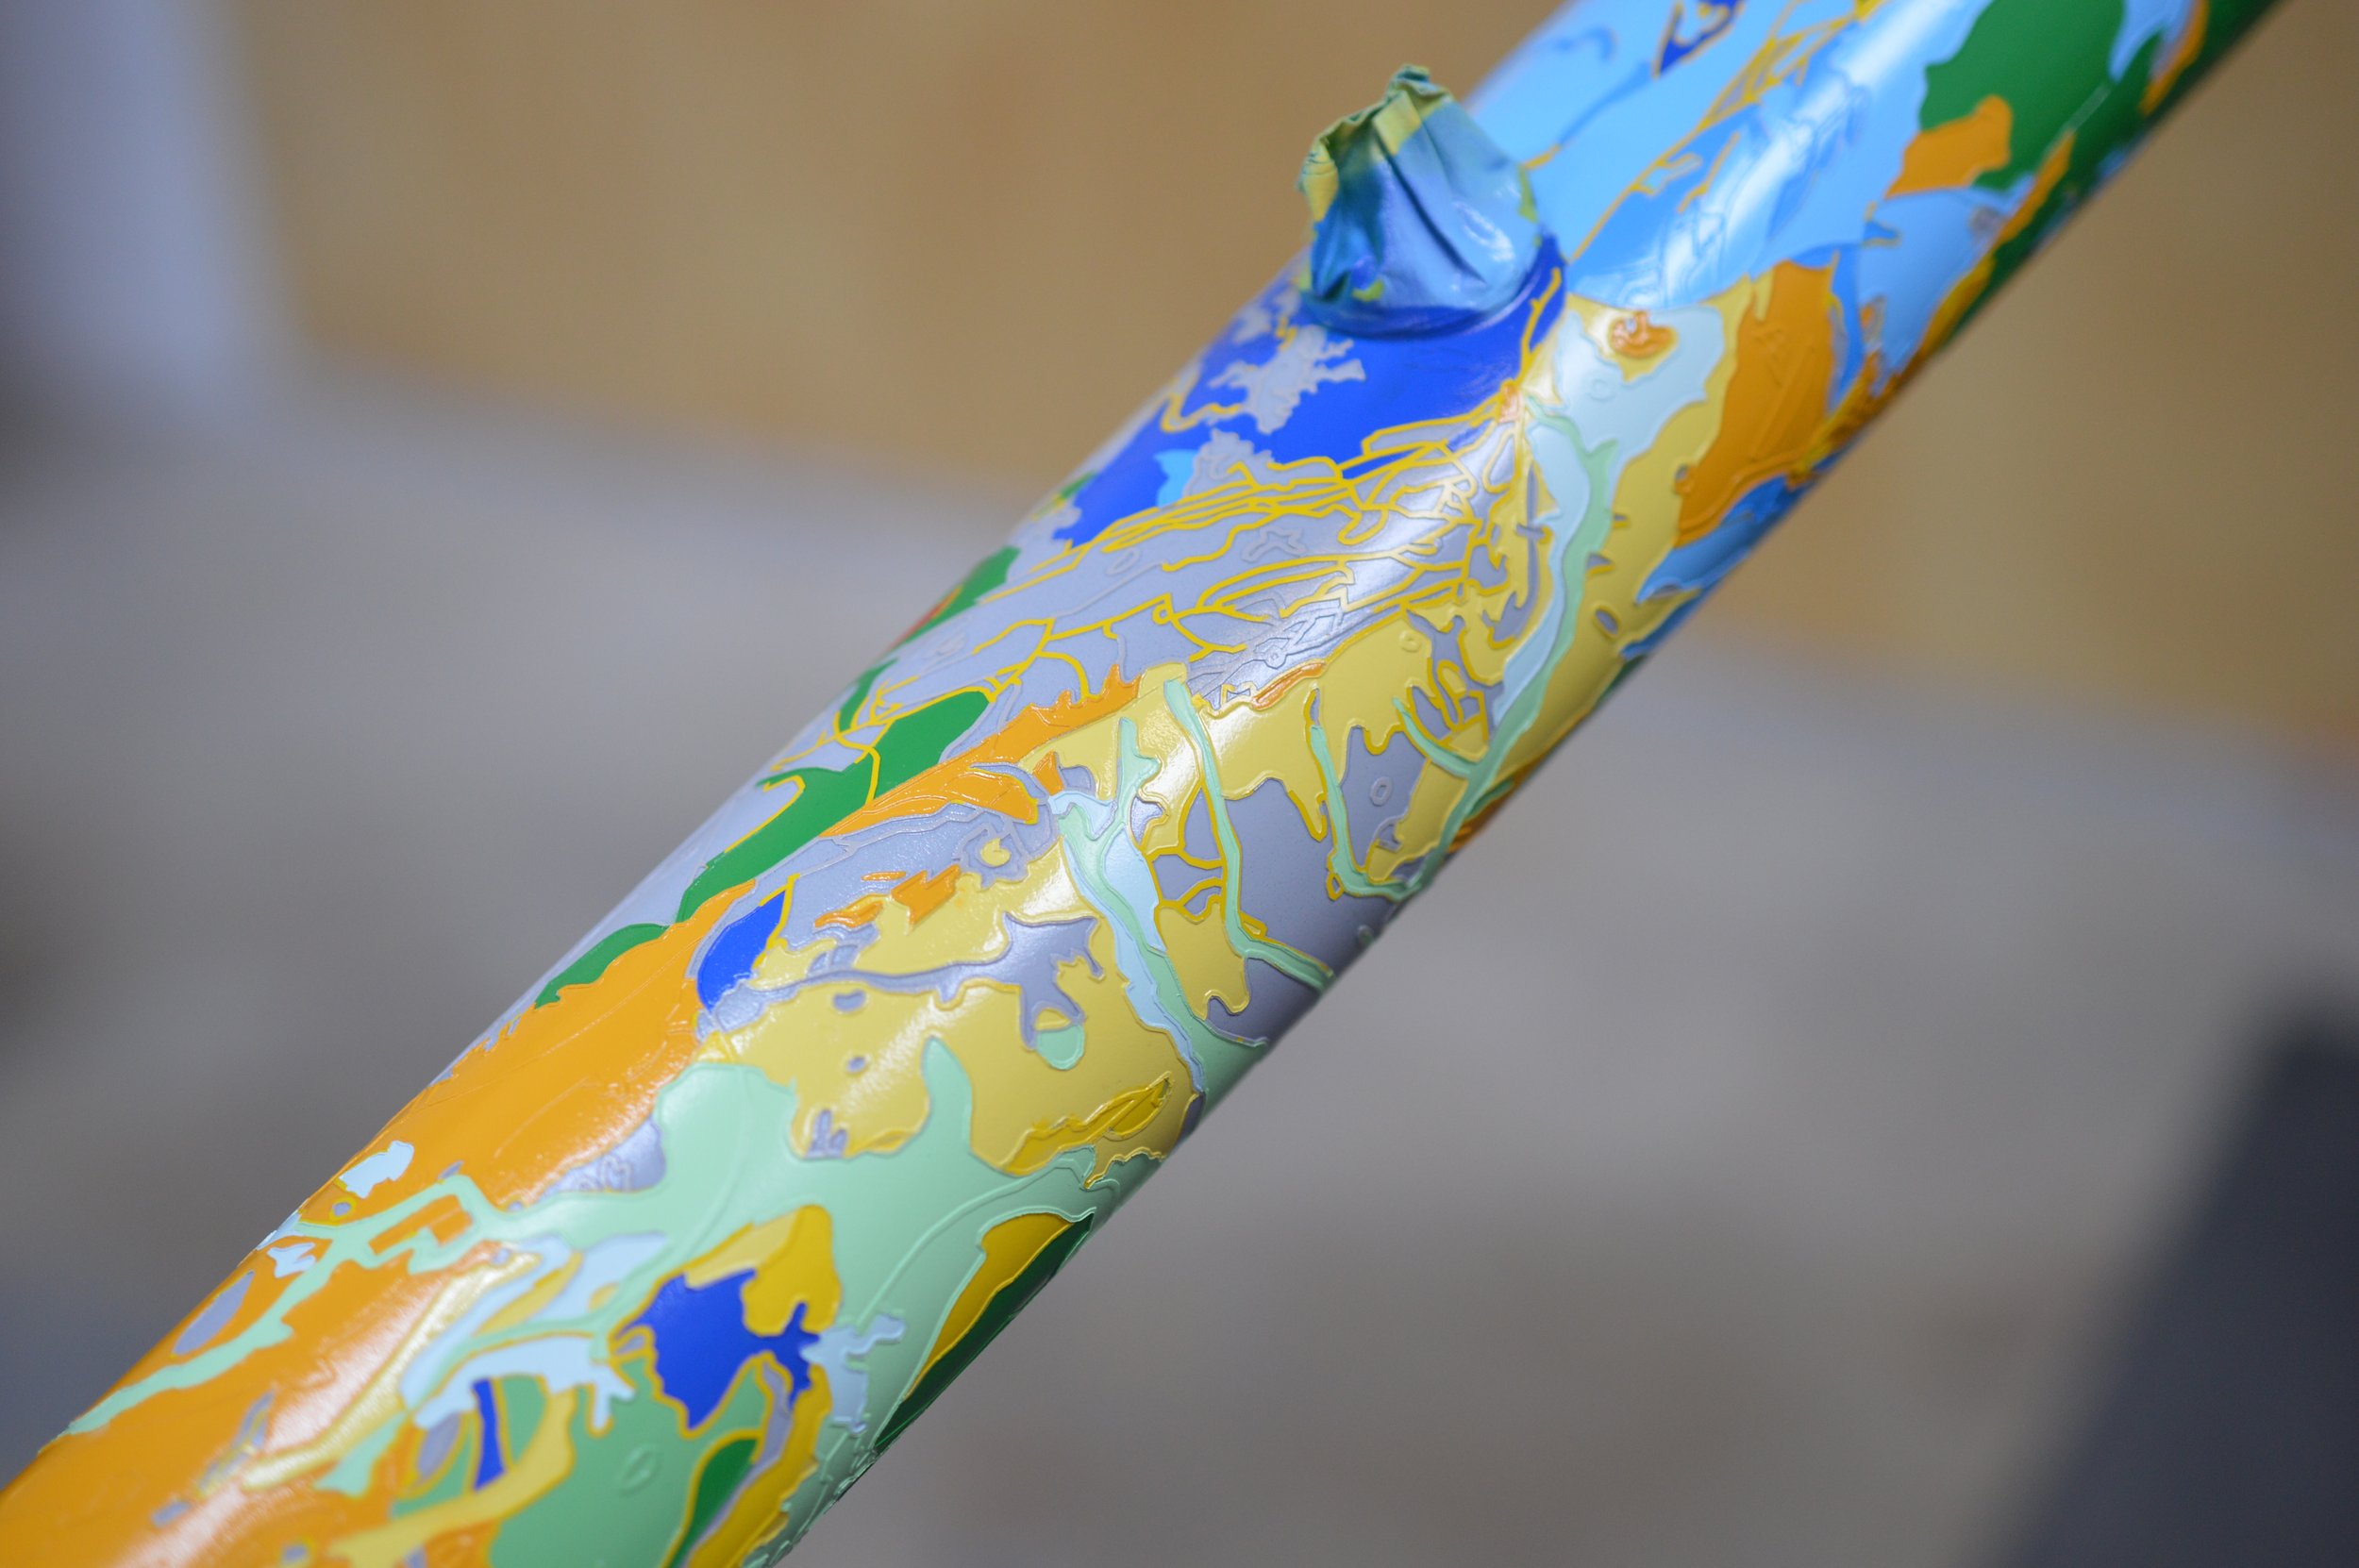
Initially we had no idea if we could do it or how we would do it but the idea was too good to say no to. After lots of experimentation and 300 hours of focus and precision this Parlee Z-Zero is truly like no other.
The phone call came from Nice Bike in Denver Colorado, David said they had a project, he didn’t know if it could be done but if there was any paint shop he would trust to figure it out it was us (most of the Mapei’s and Parlee inspired Mapei schemes we’ve done have been for Nice Bike). The brief: They had a customer, he’s a geologist whose main focus is France and he wants a map of France painted on his incoming Parlee . But this was not just any map it was the ‘Carté Géologique Del La France’ map, a geological earth map and as a geologist he wanted to be able to look down at the frame while riding to see the soil he was riding on.
We had done maps on bikes before but this was something a little different. next level.
We thought, cool this will be fun! (if we can figure out how to do it) Many, many, many hours later we were full blown in the thick of one of the most memorable and time consuming projects we have ever taken on here at Vélocolour! The results were pure magic.
This was the very first impression image we received from Nice Bike.
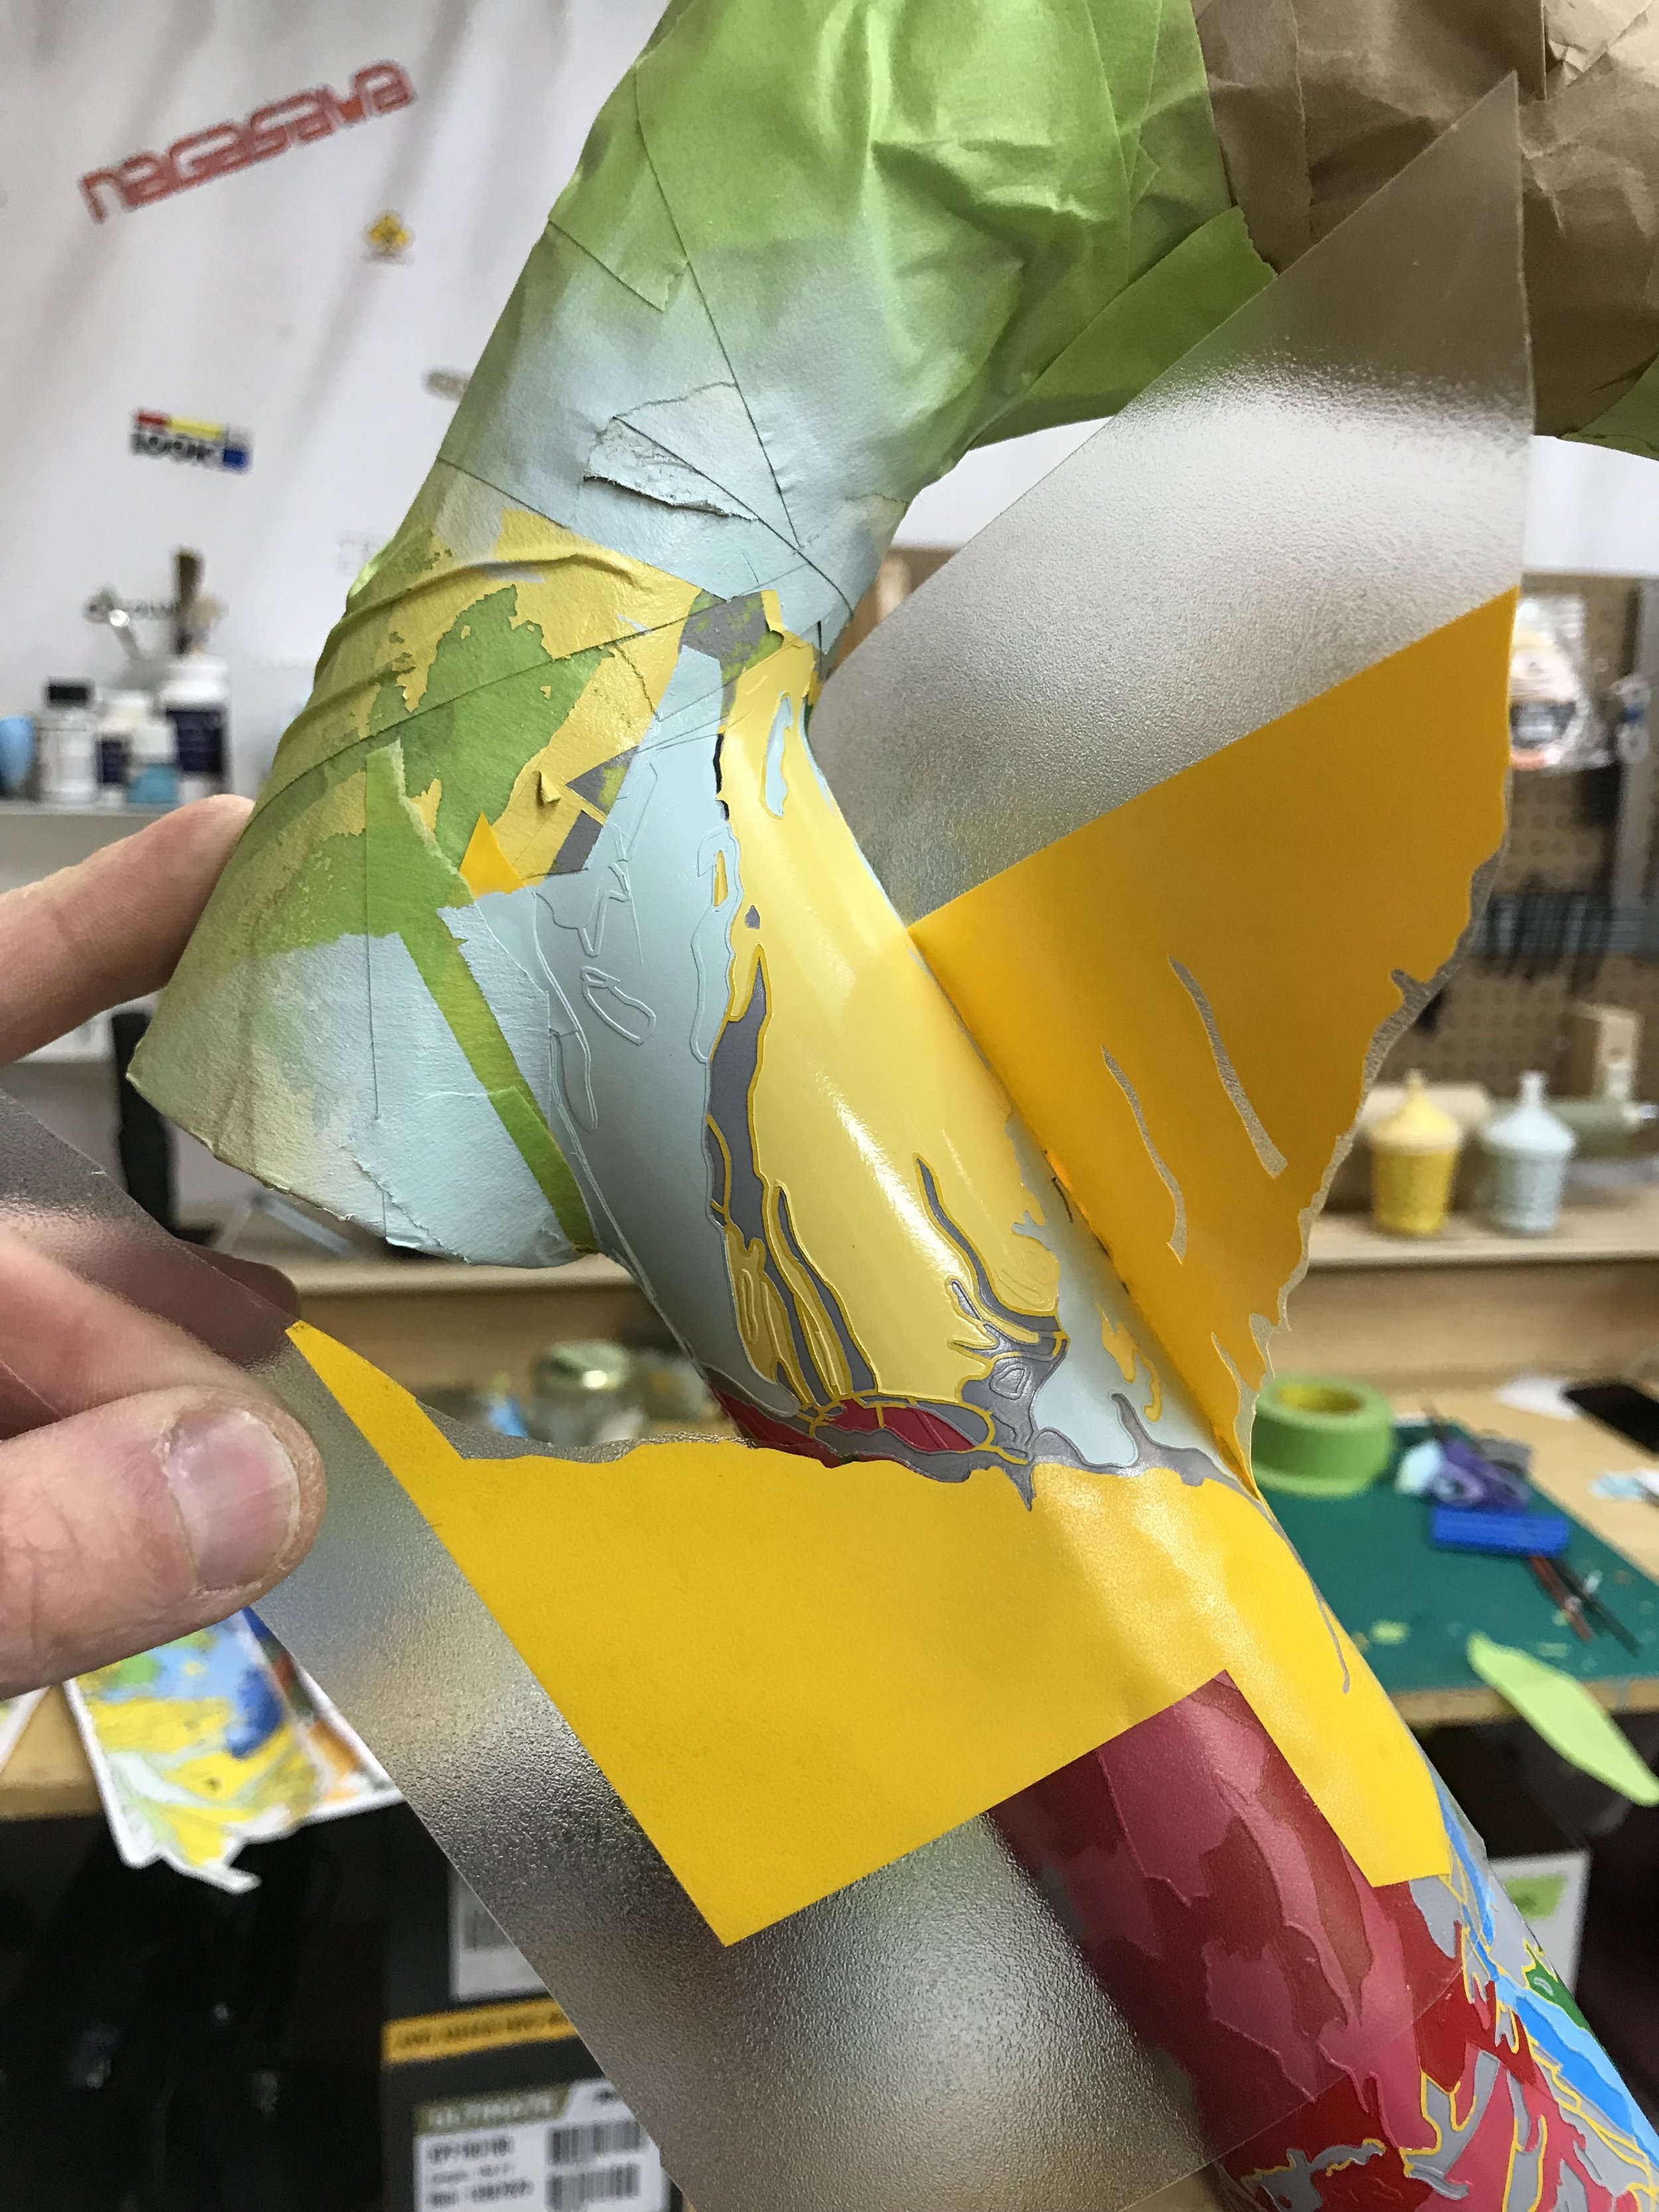
At first we thought decal wraps were the way to go, it seemed like way too much to actually paint. We only really use decals for restorations and the quality wouldn’t be as good as paint but it seemed that was the only way it could happen. But they insisted on paint, the detail, depth and quality found in our work was what they came to us for. Now Suzanne had to figured out how to create the maskings we needed.
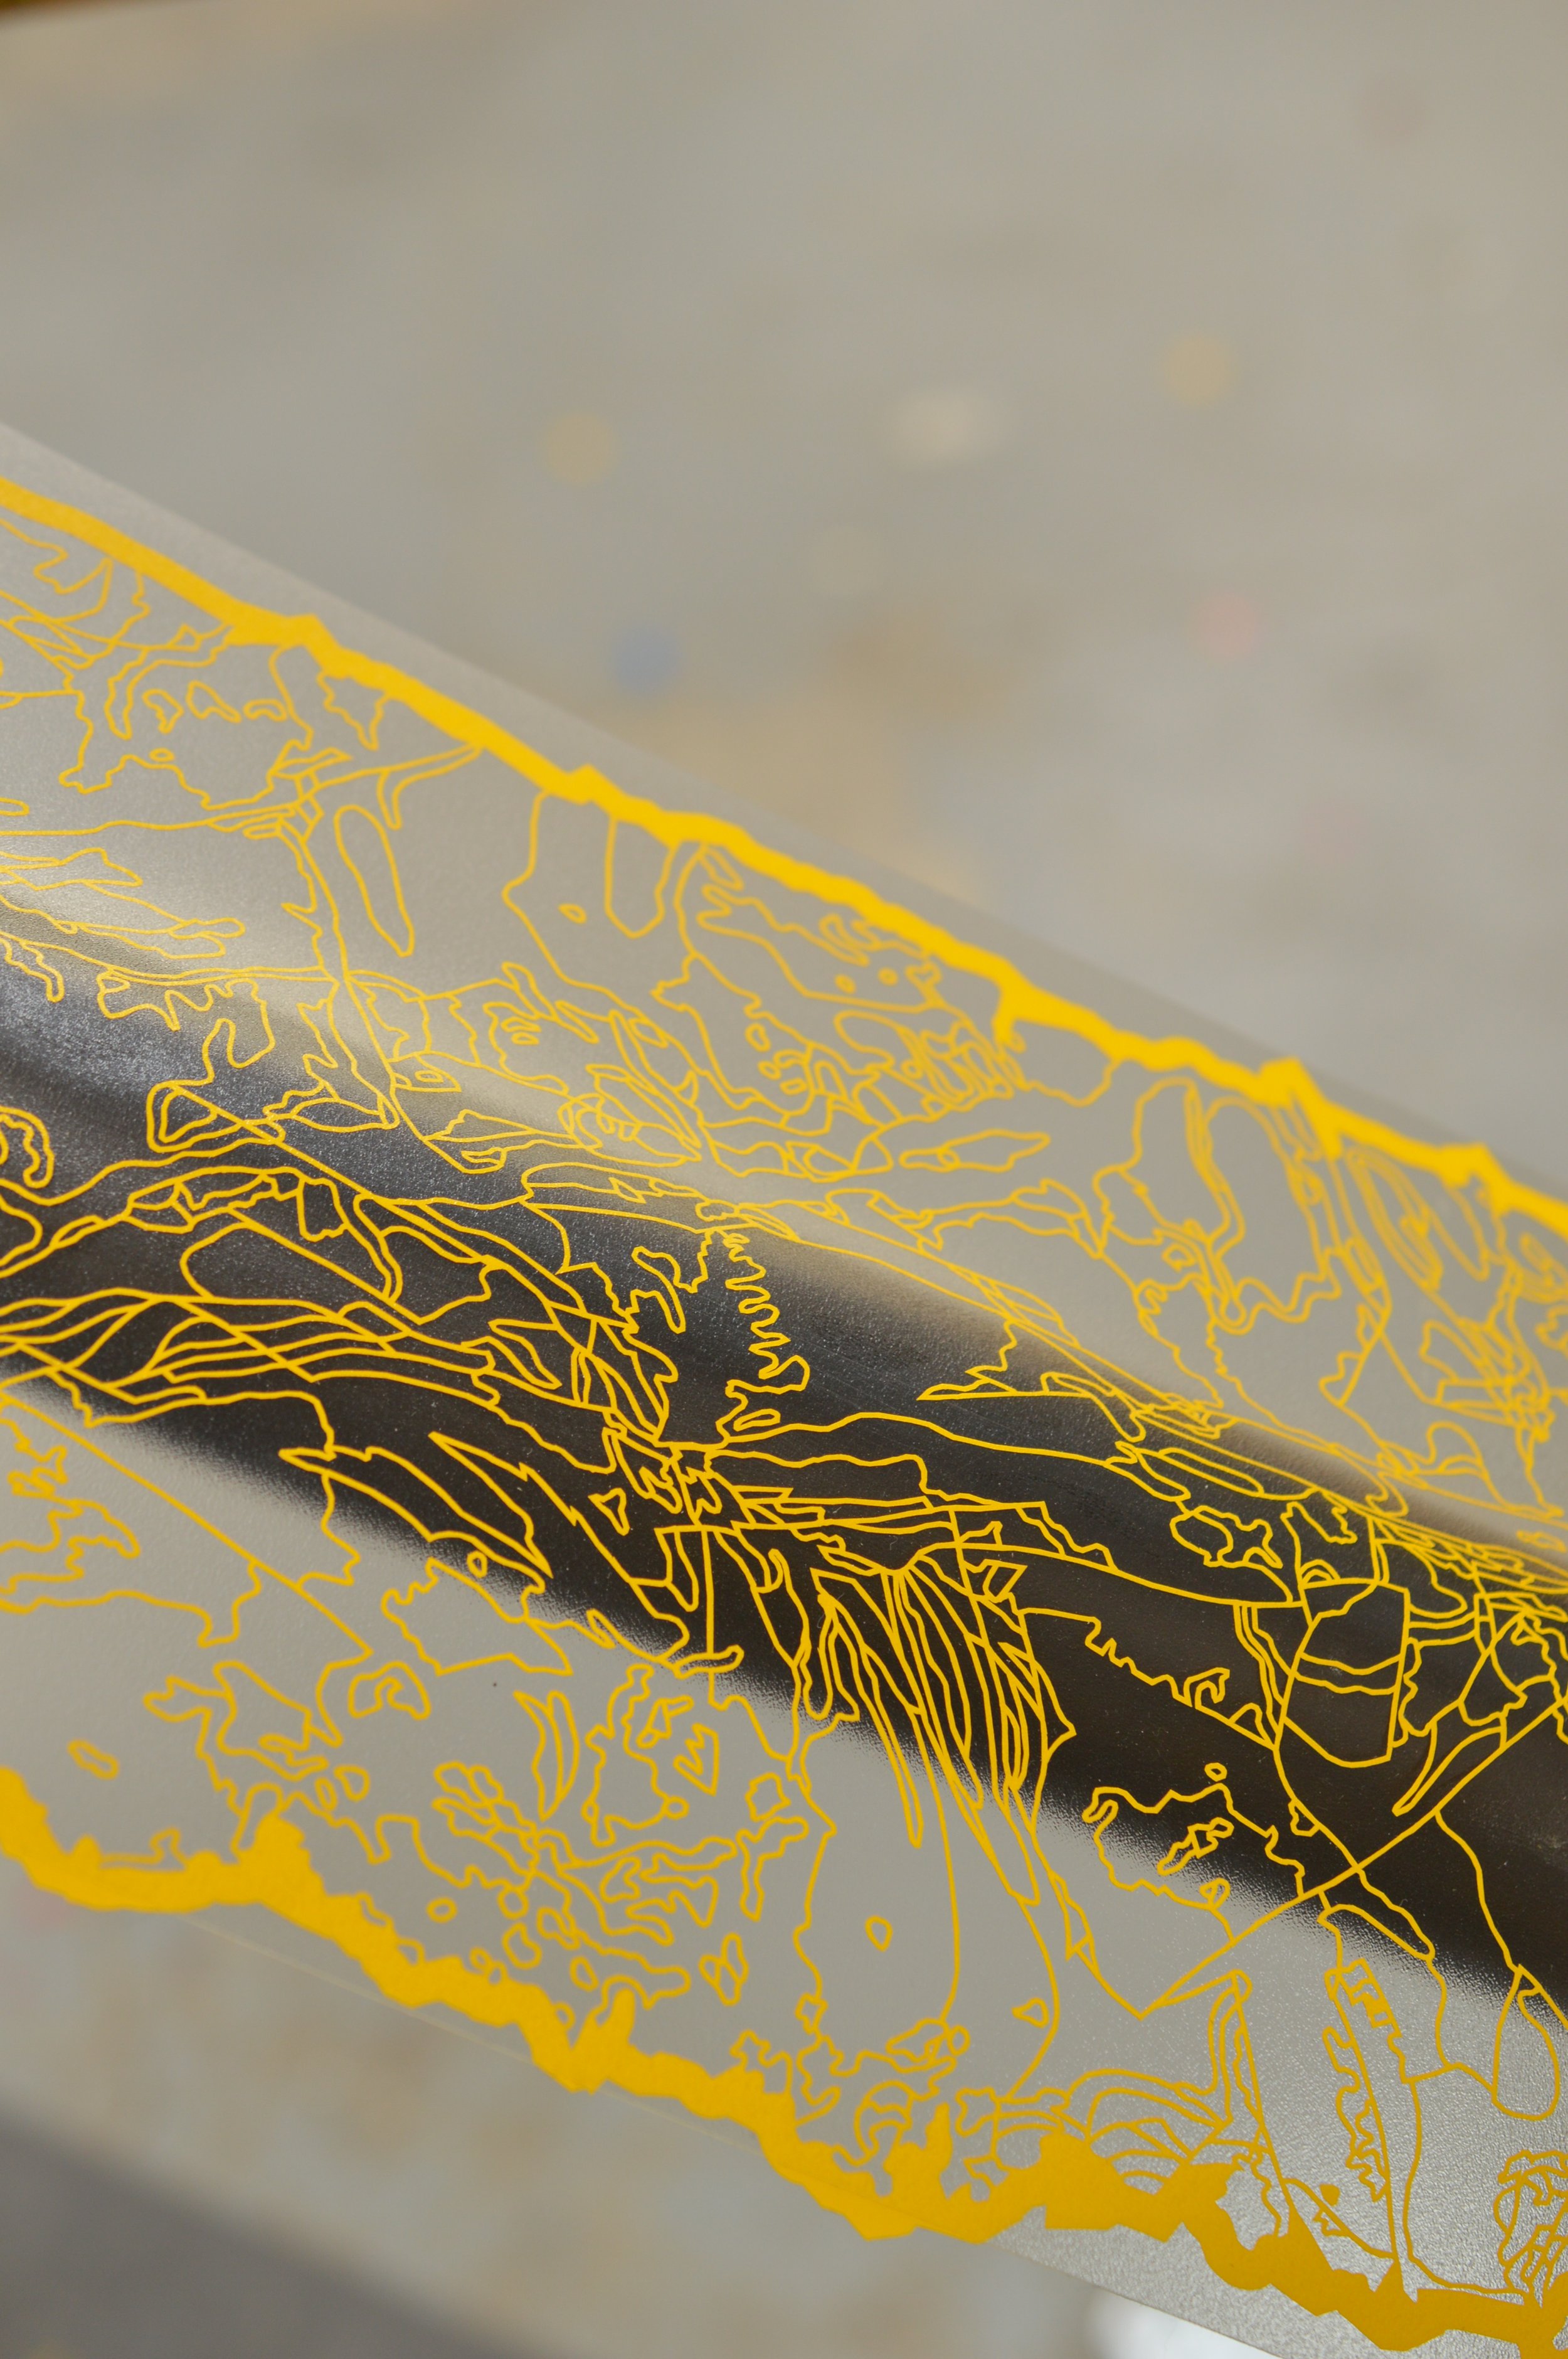
Below are the Illustrator files created to cut paint masks for painting. These are just the seat tube masks, we had layouts like this every tube on the frame and fork.
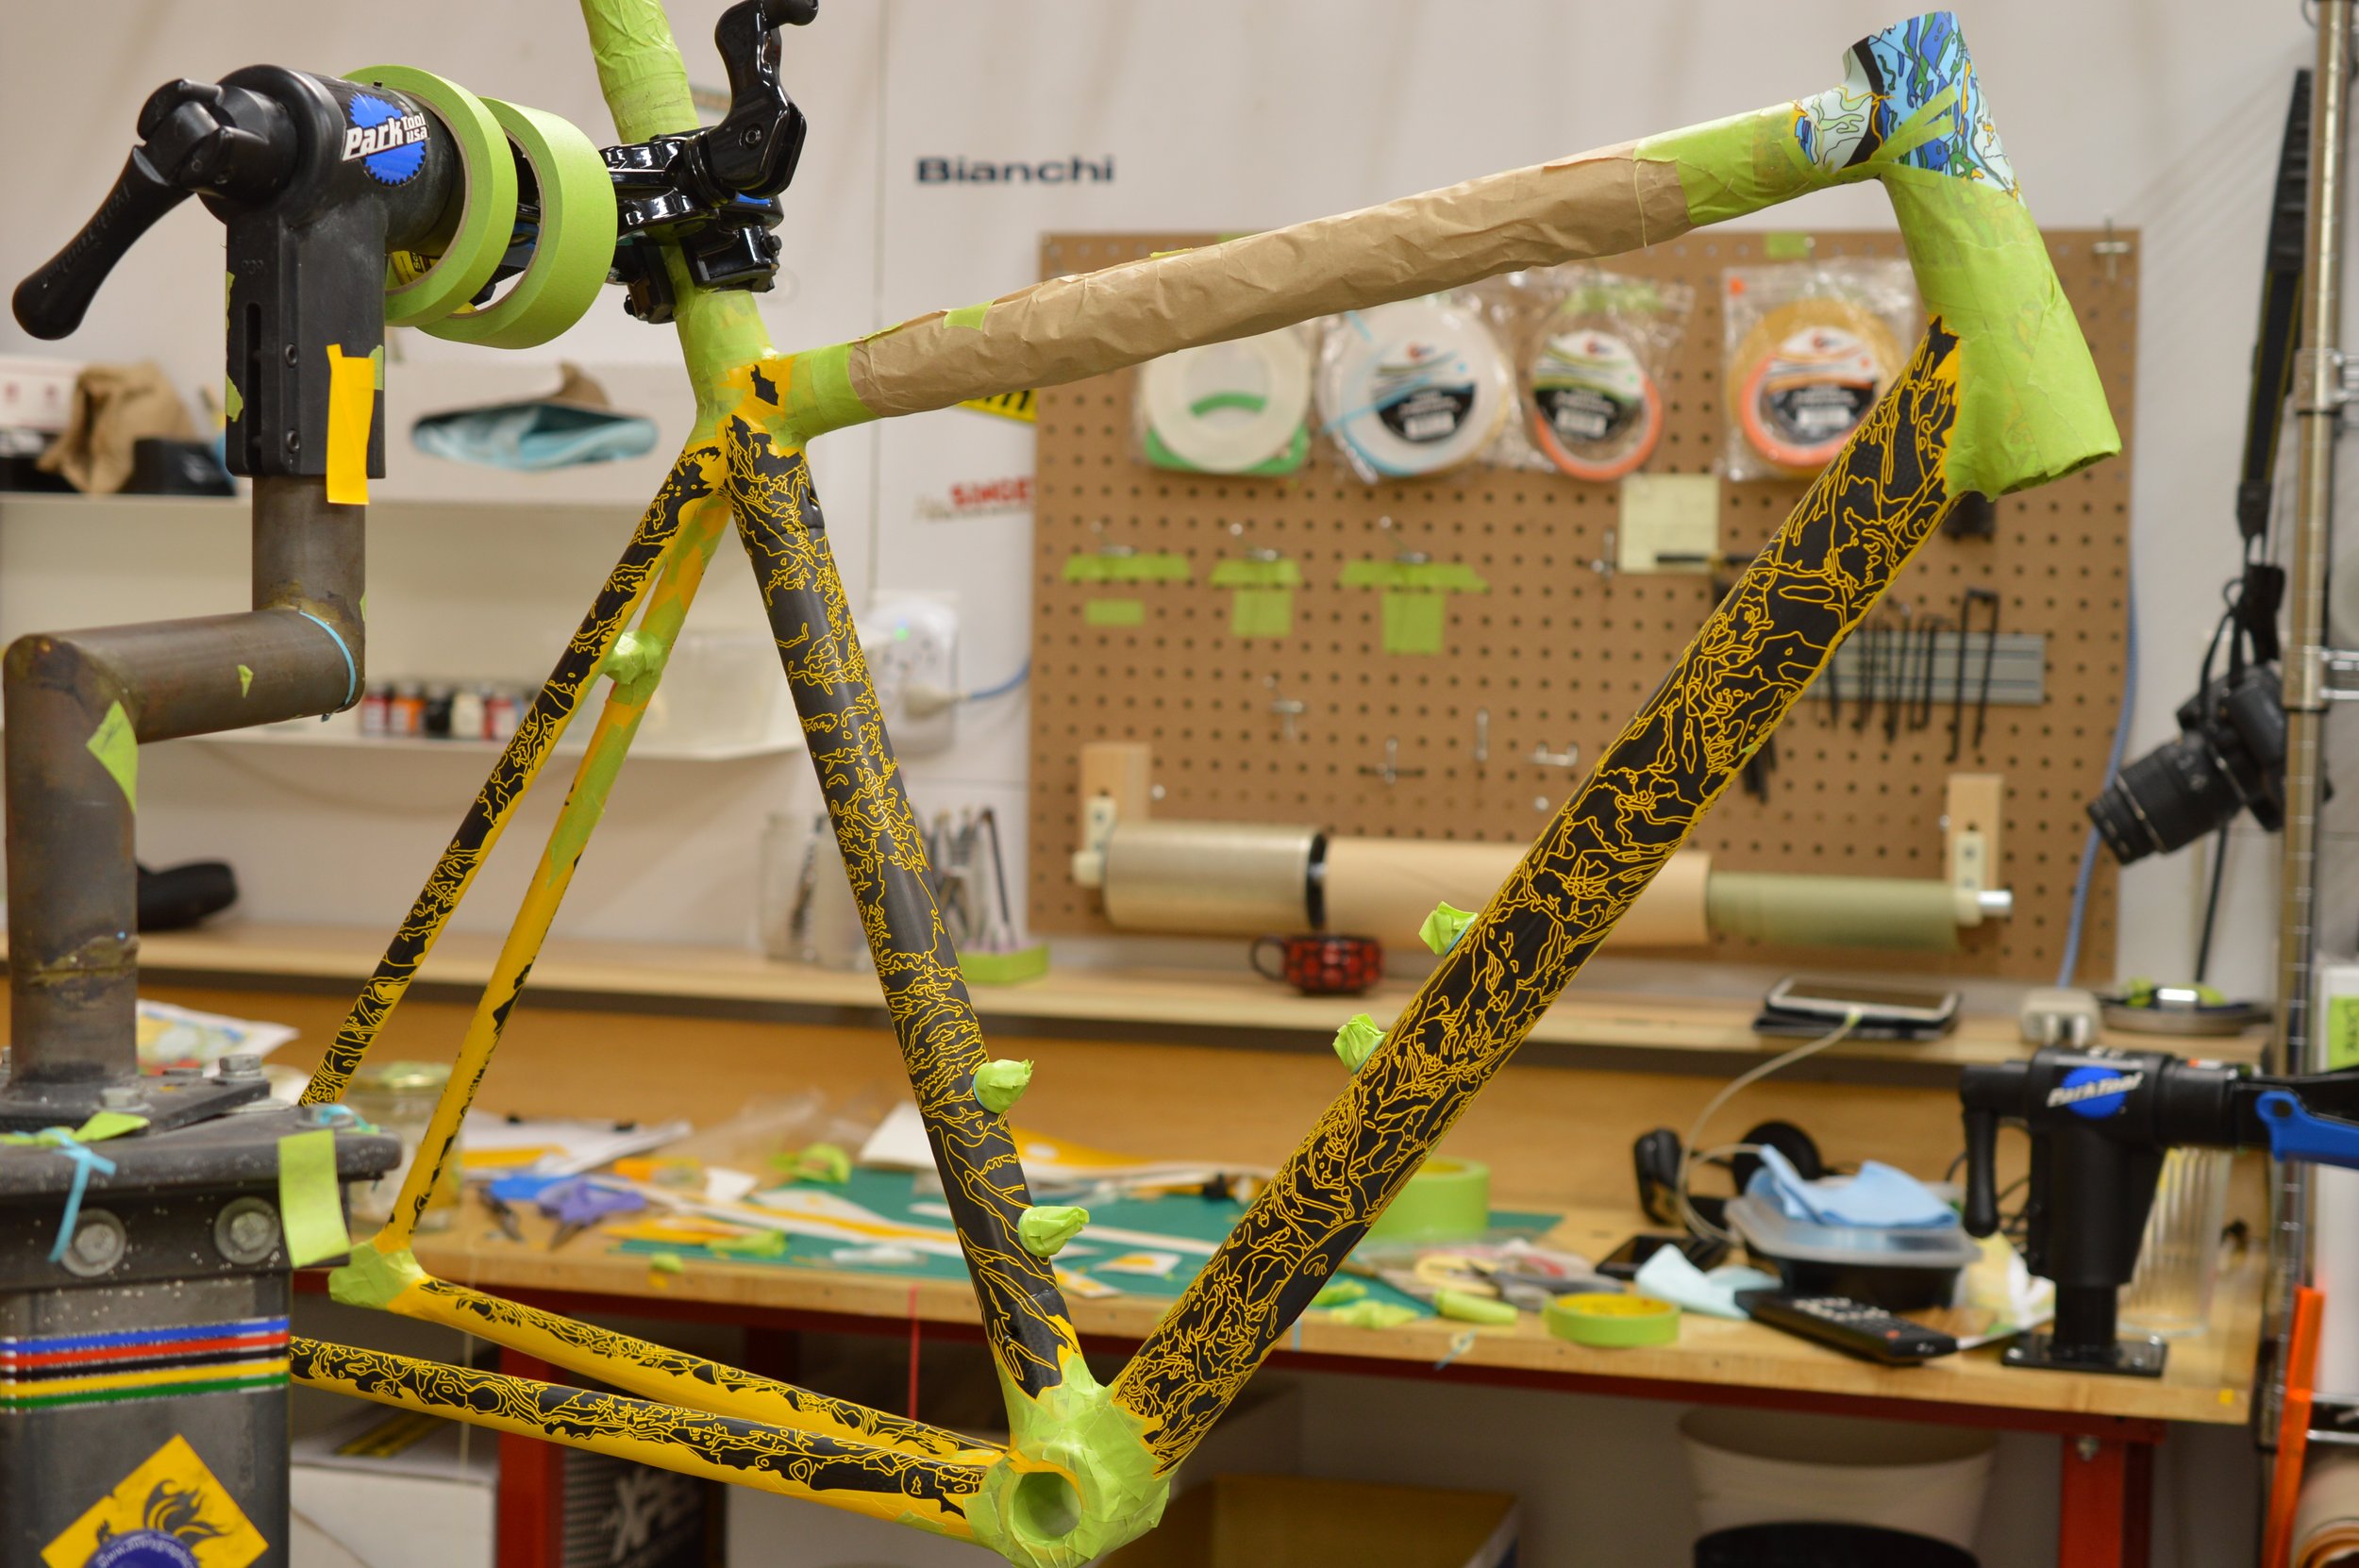
We started with the headtube on it’s own to make sure we had the process dialed before getting in to the full frame. The spaces were so tiny we mainly used a brush to fill the colour blocks but it was very time intensive and decided the whole bike was simply going to take too long. We chose to mask and spray the rest of the frame, starting with large areas and then came back to brush fill the smallest details.
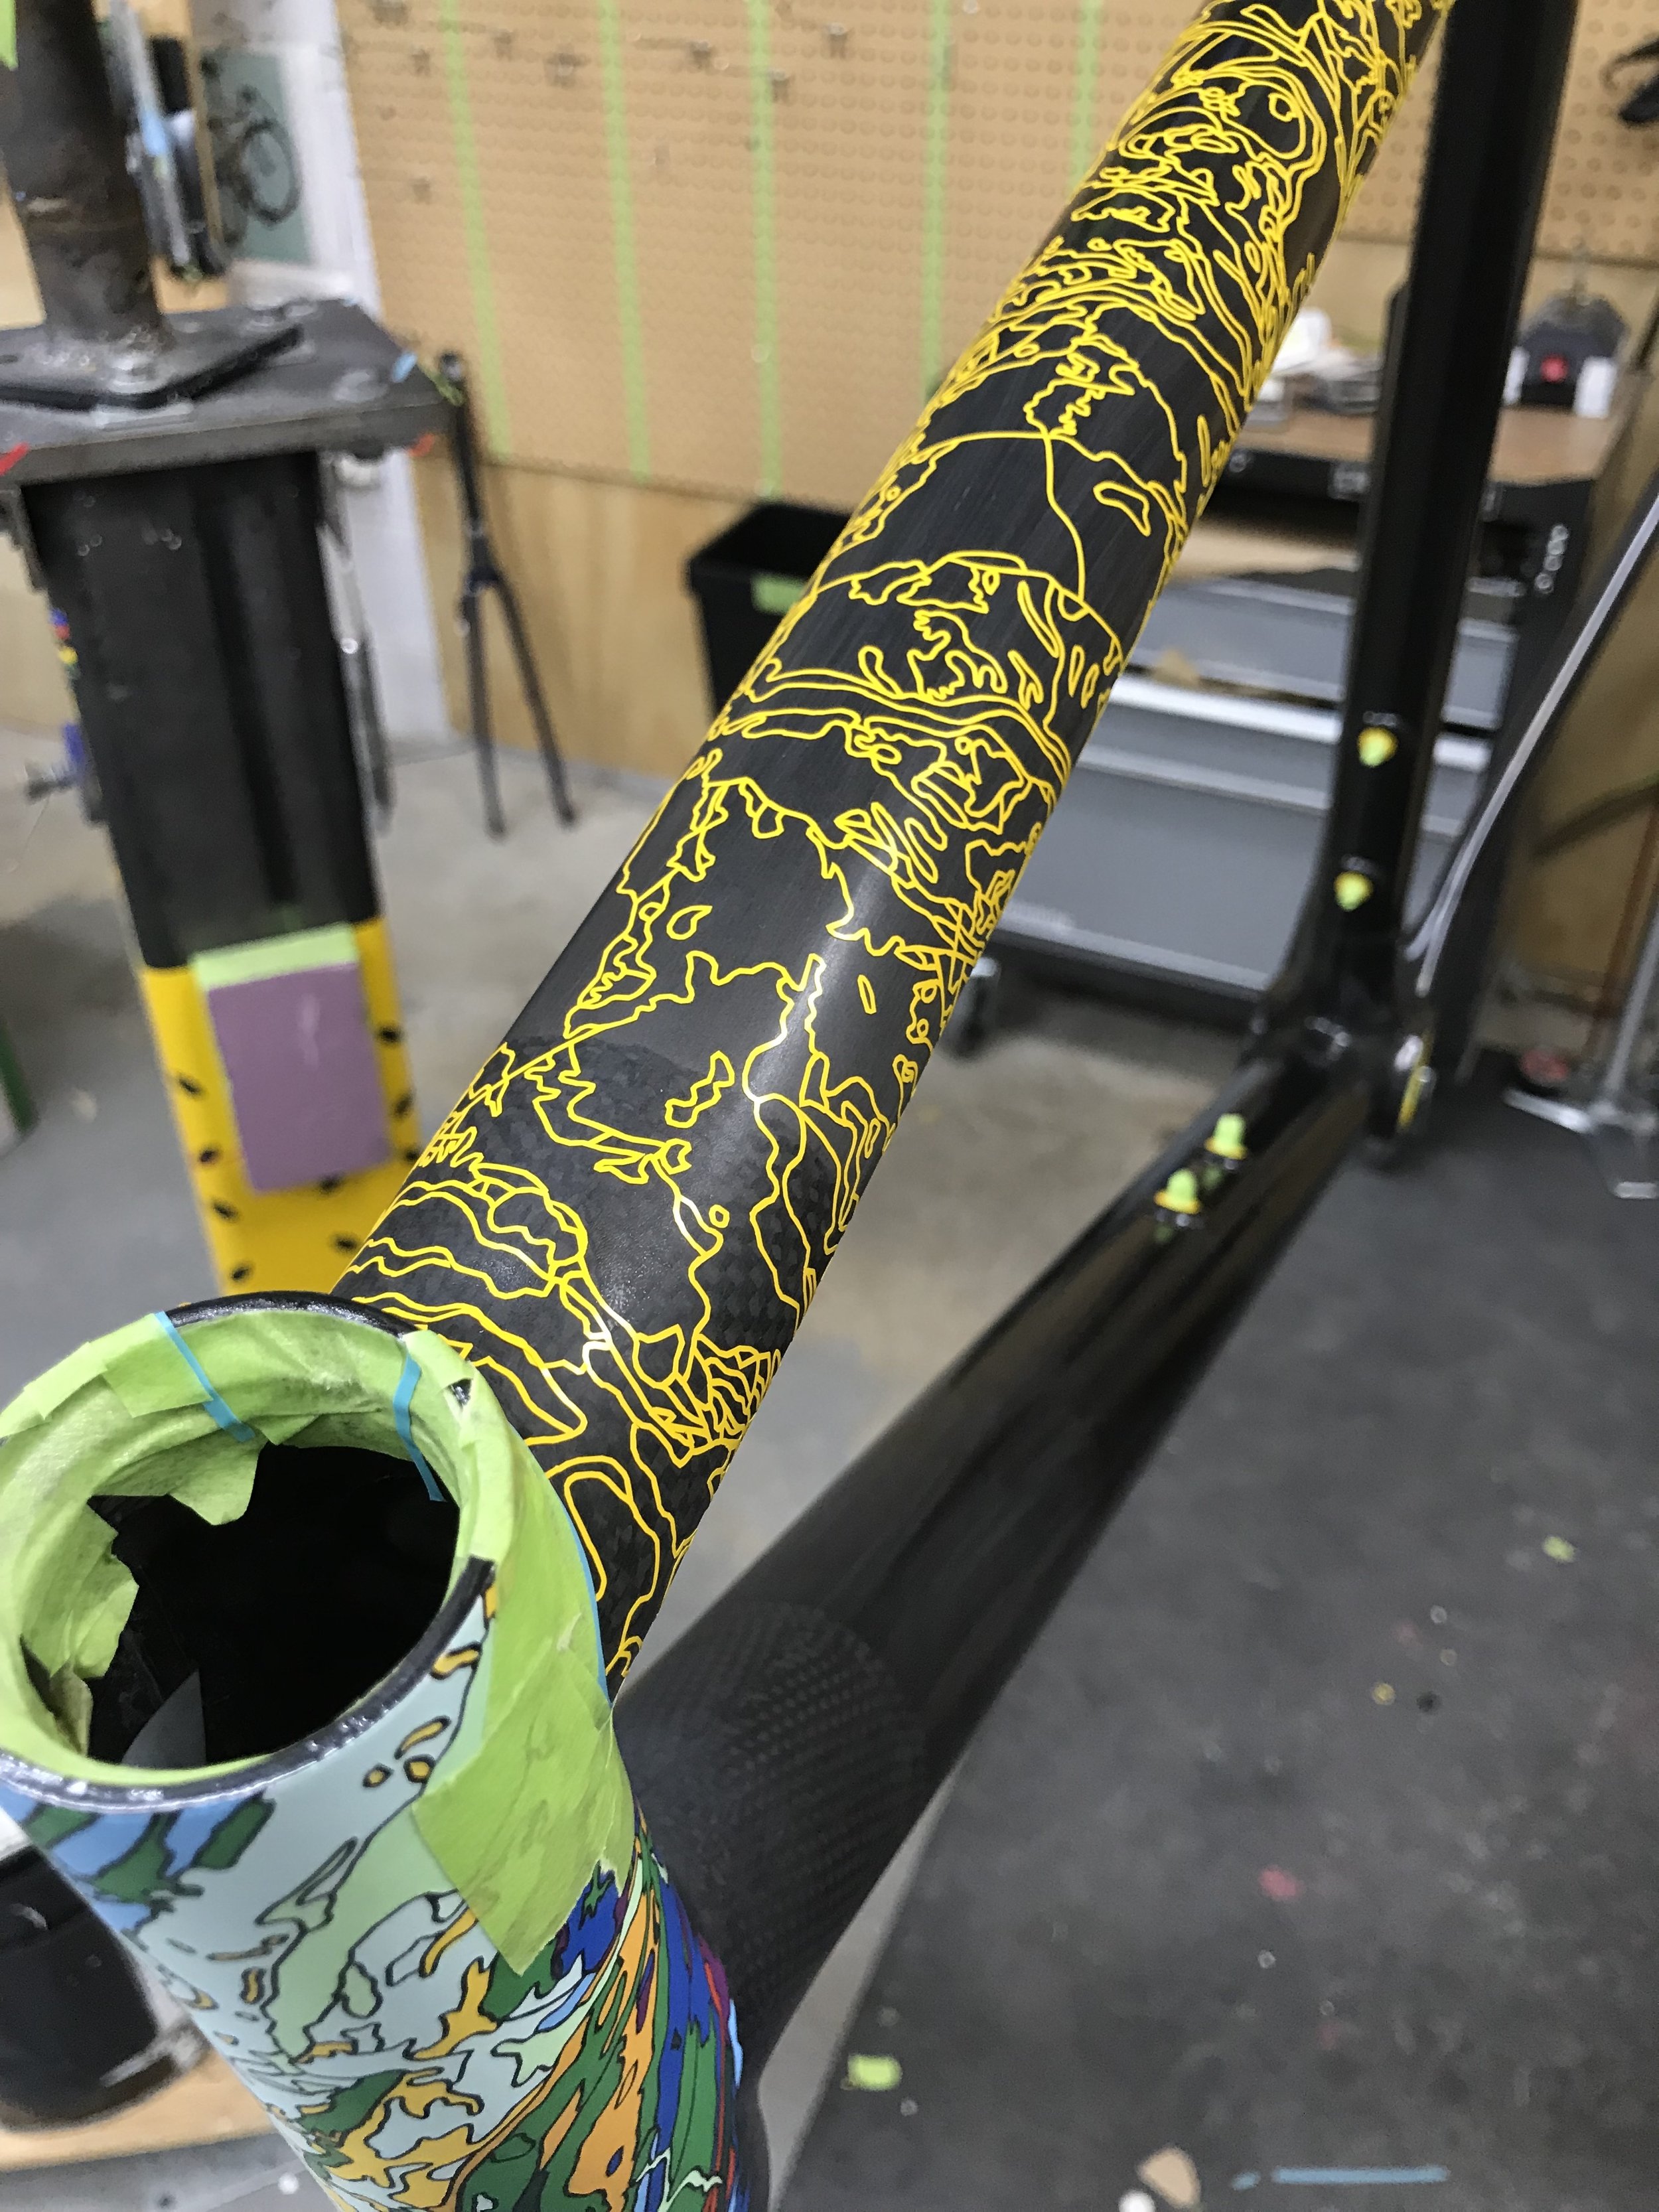
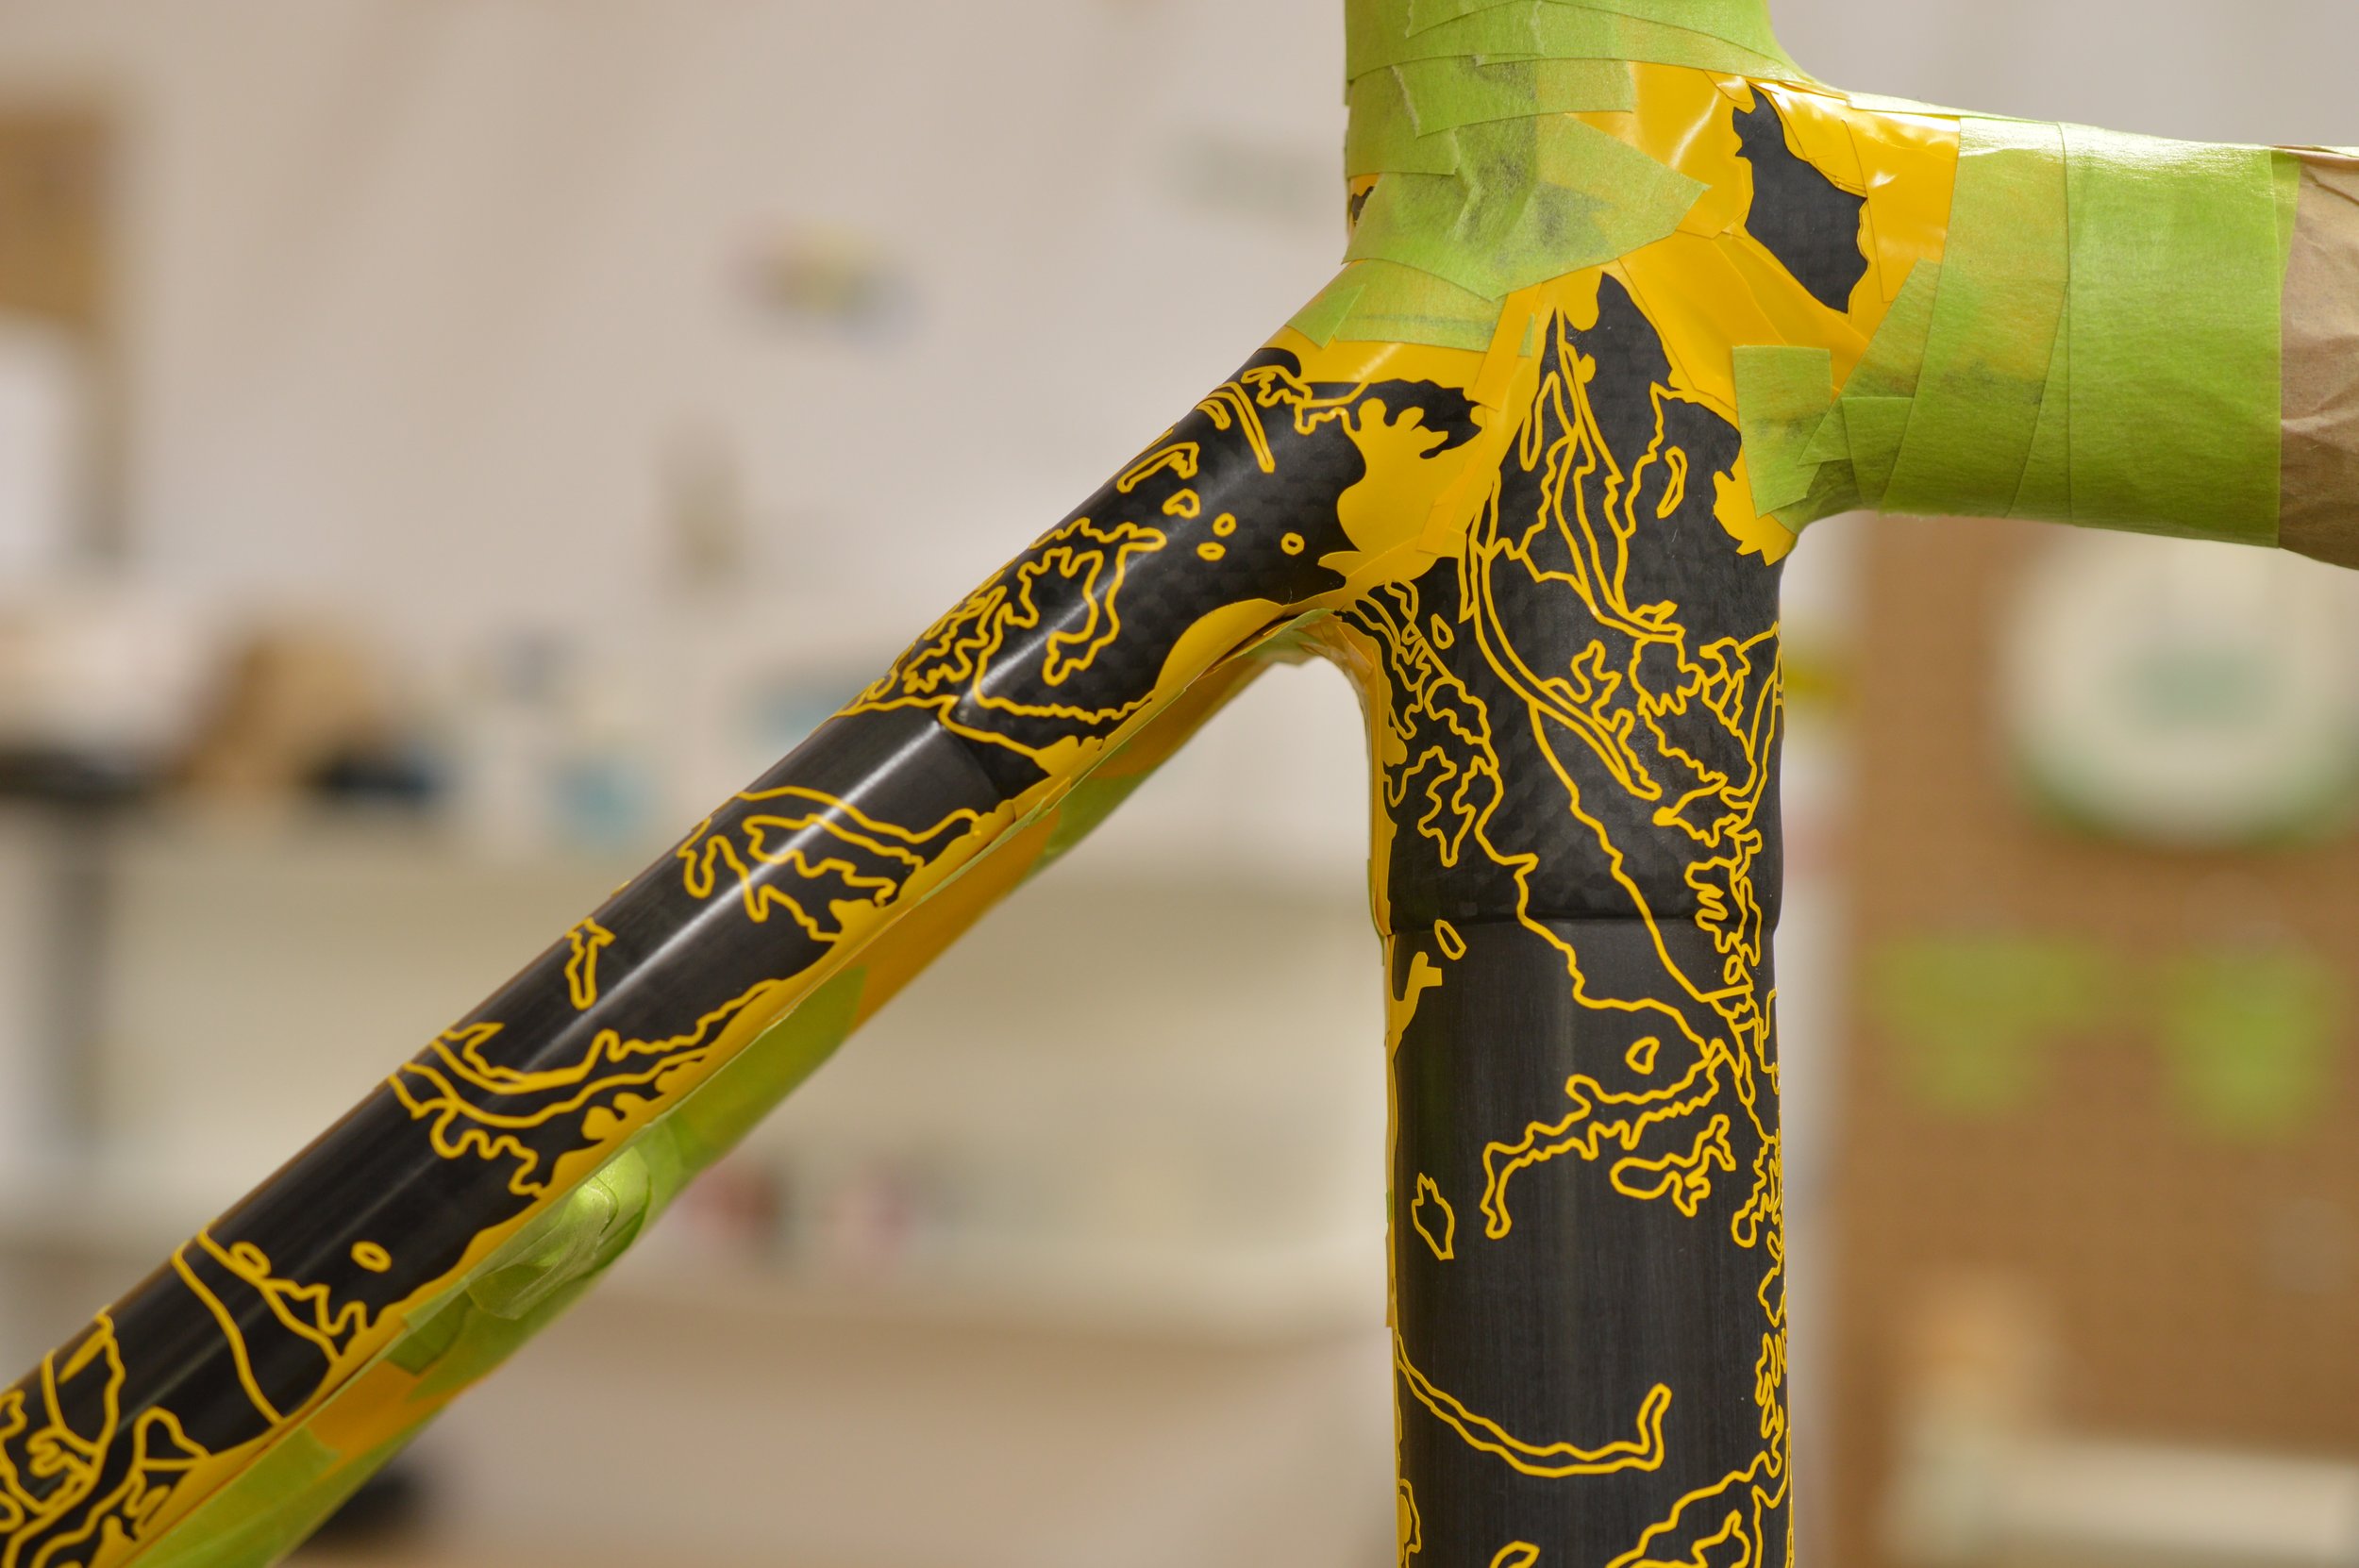
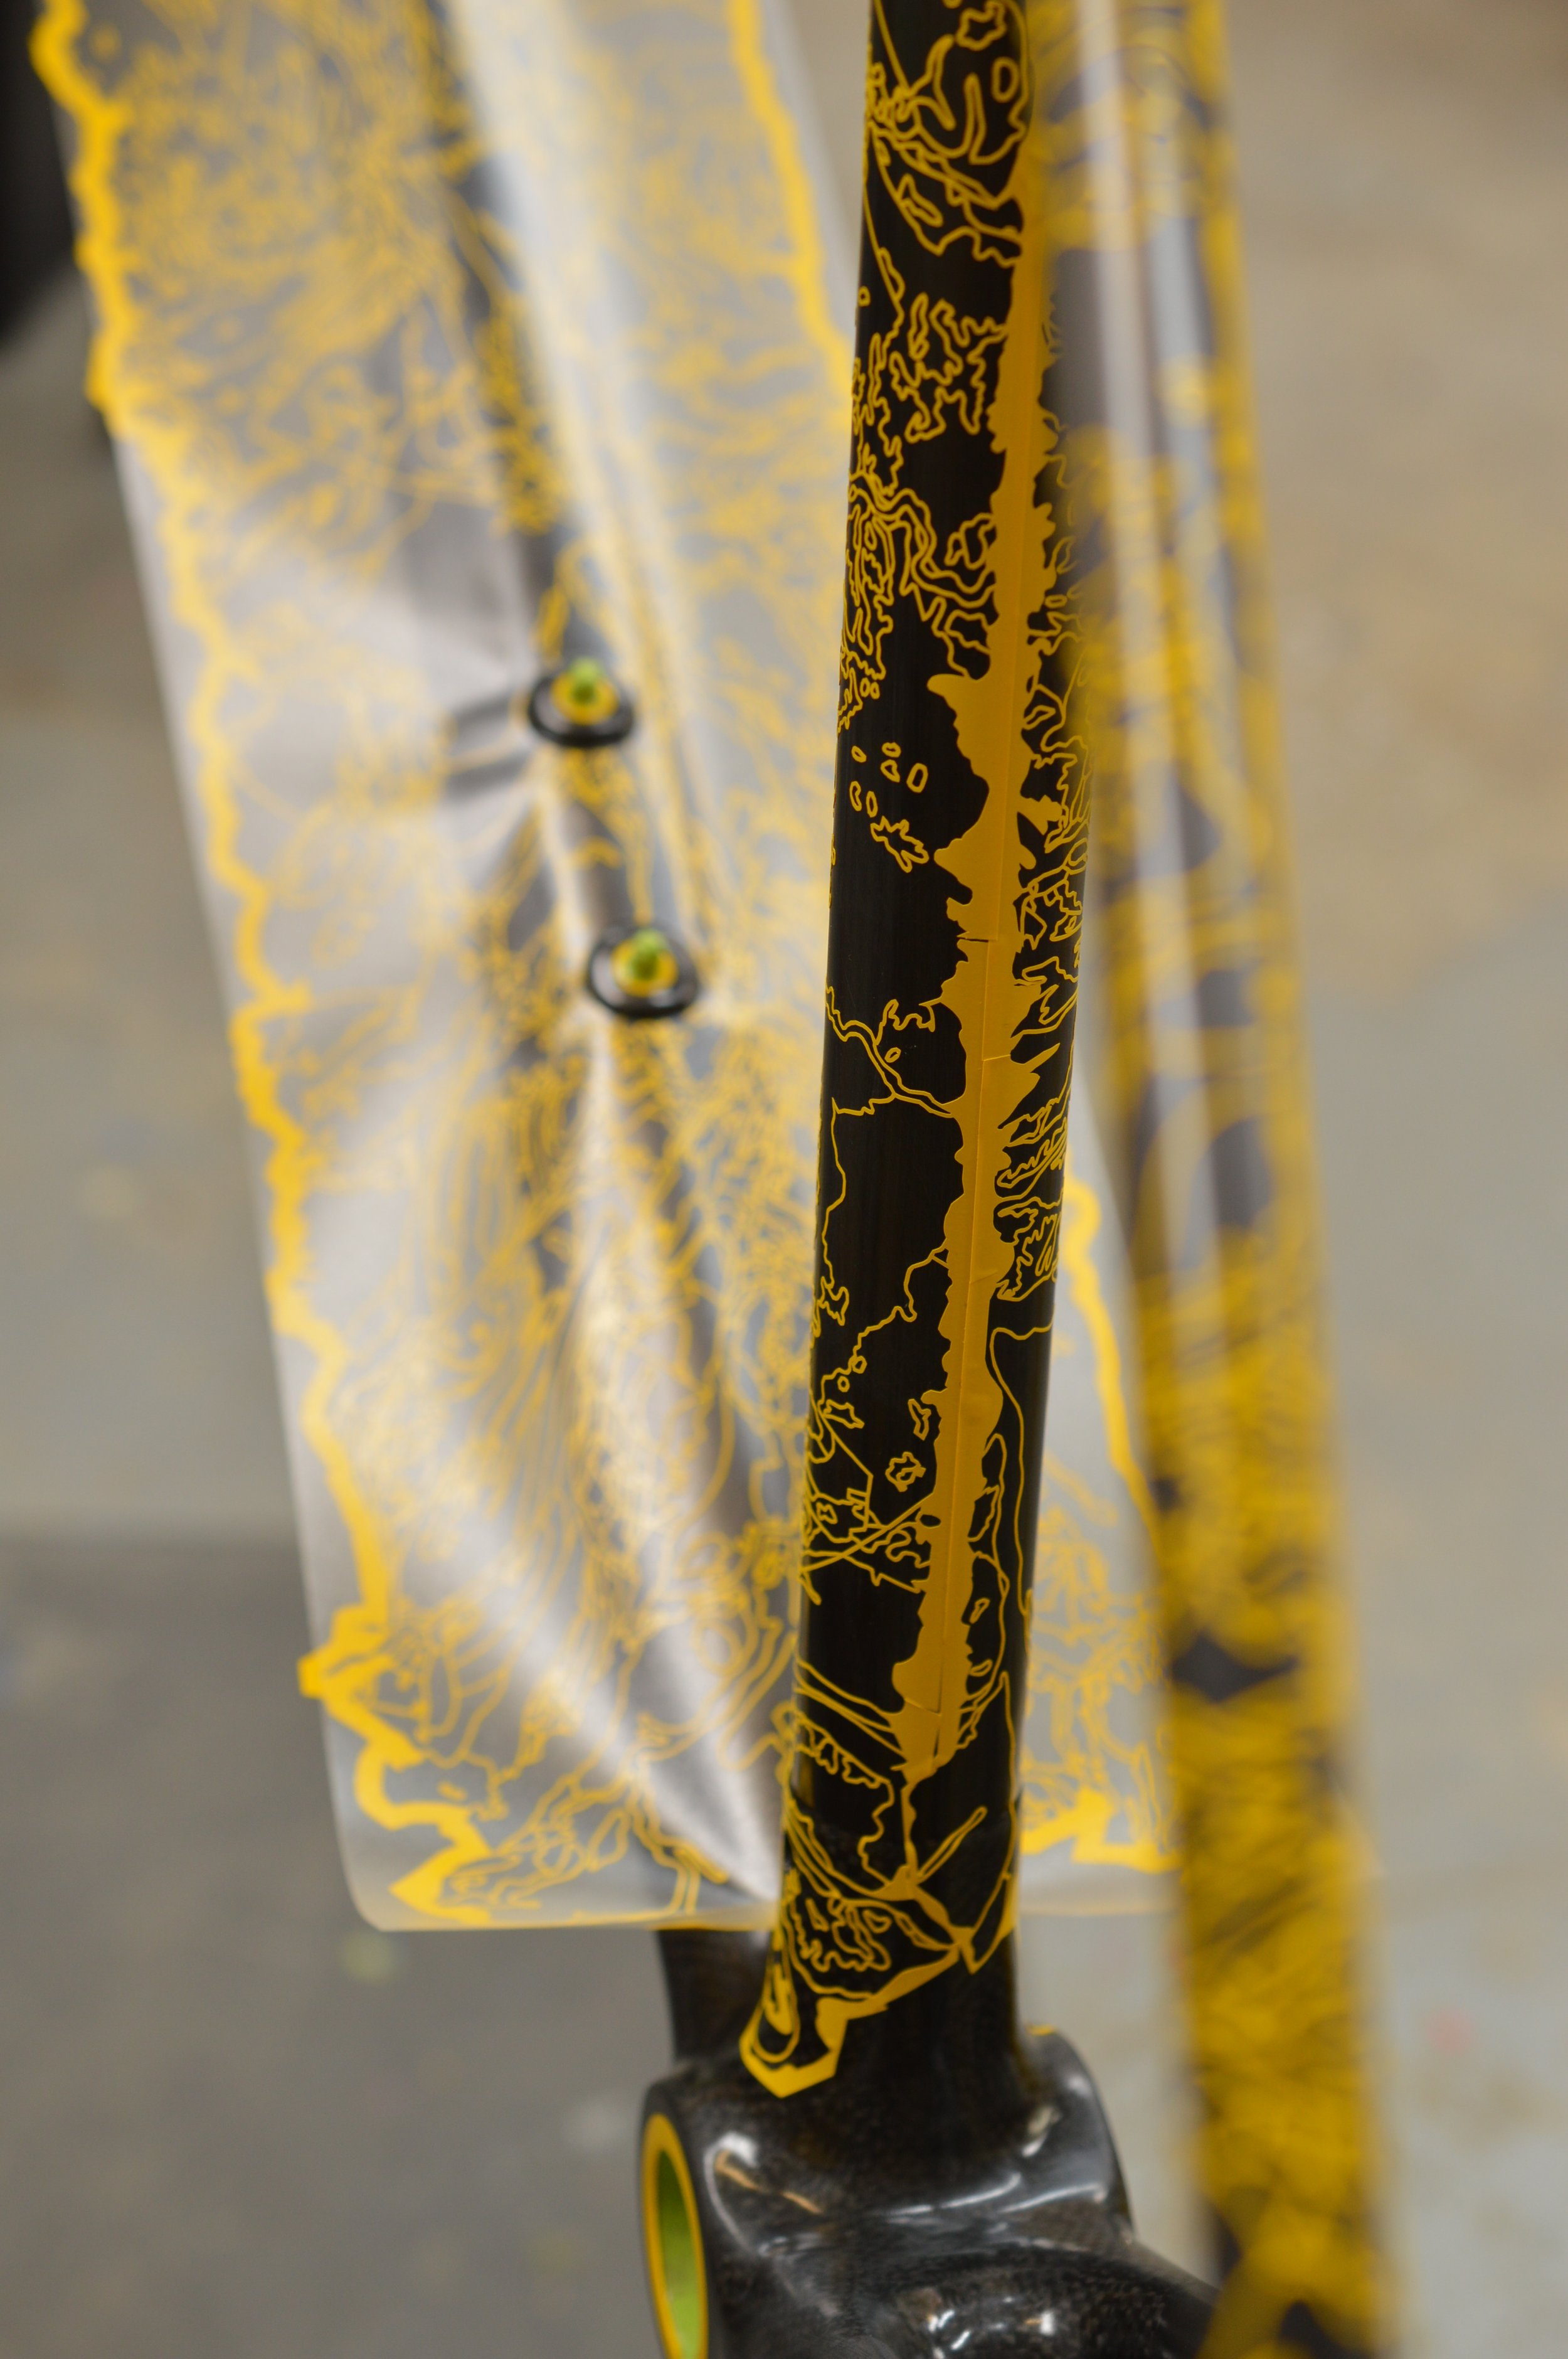
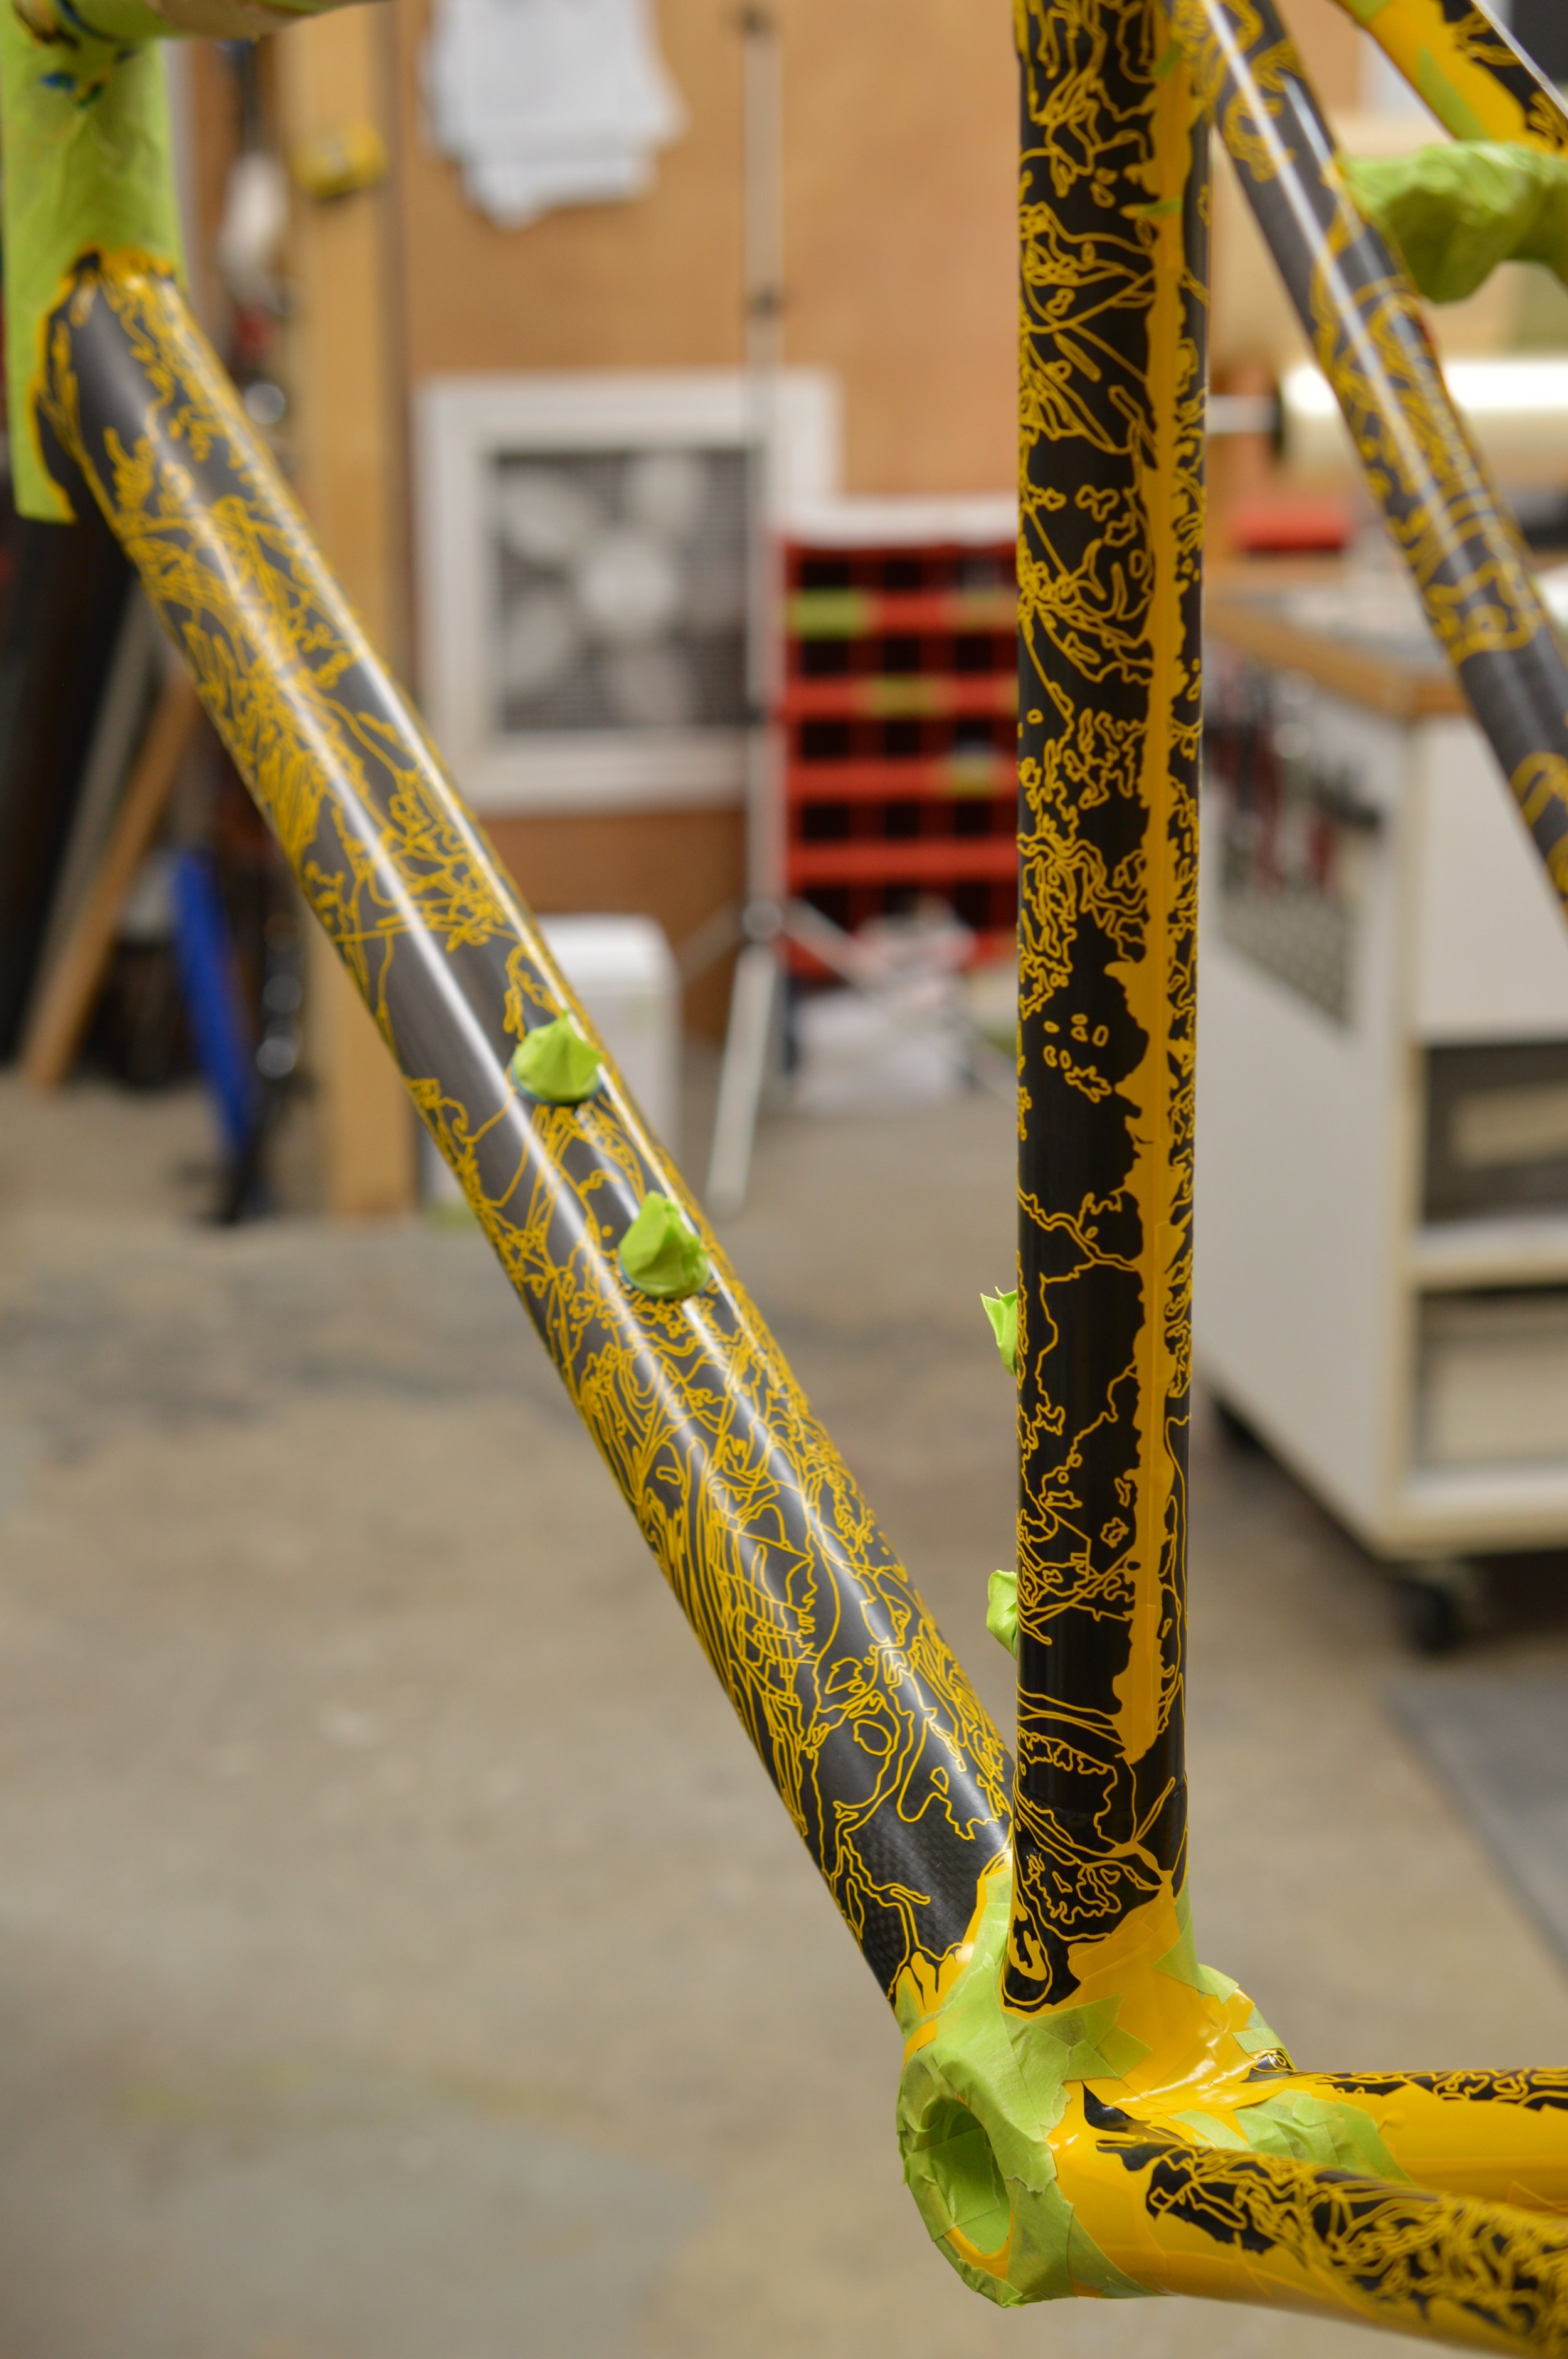
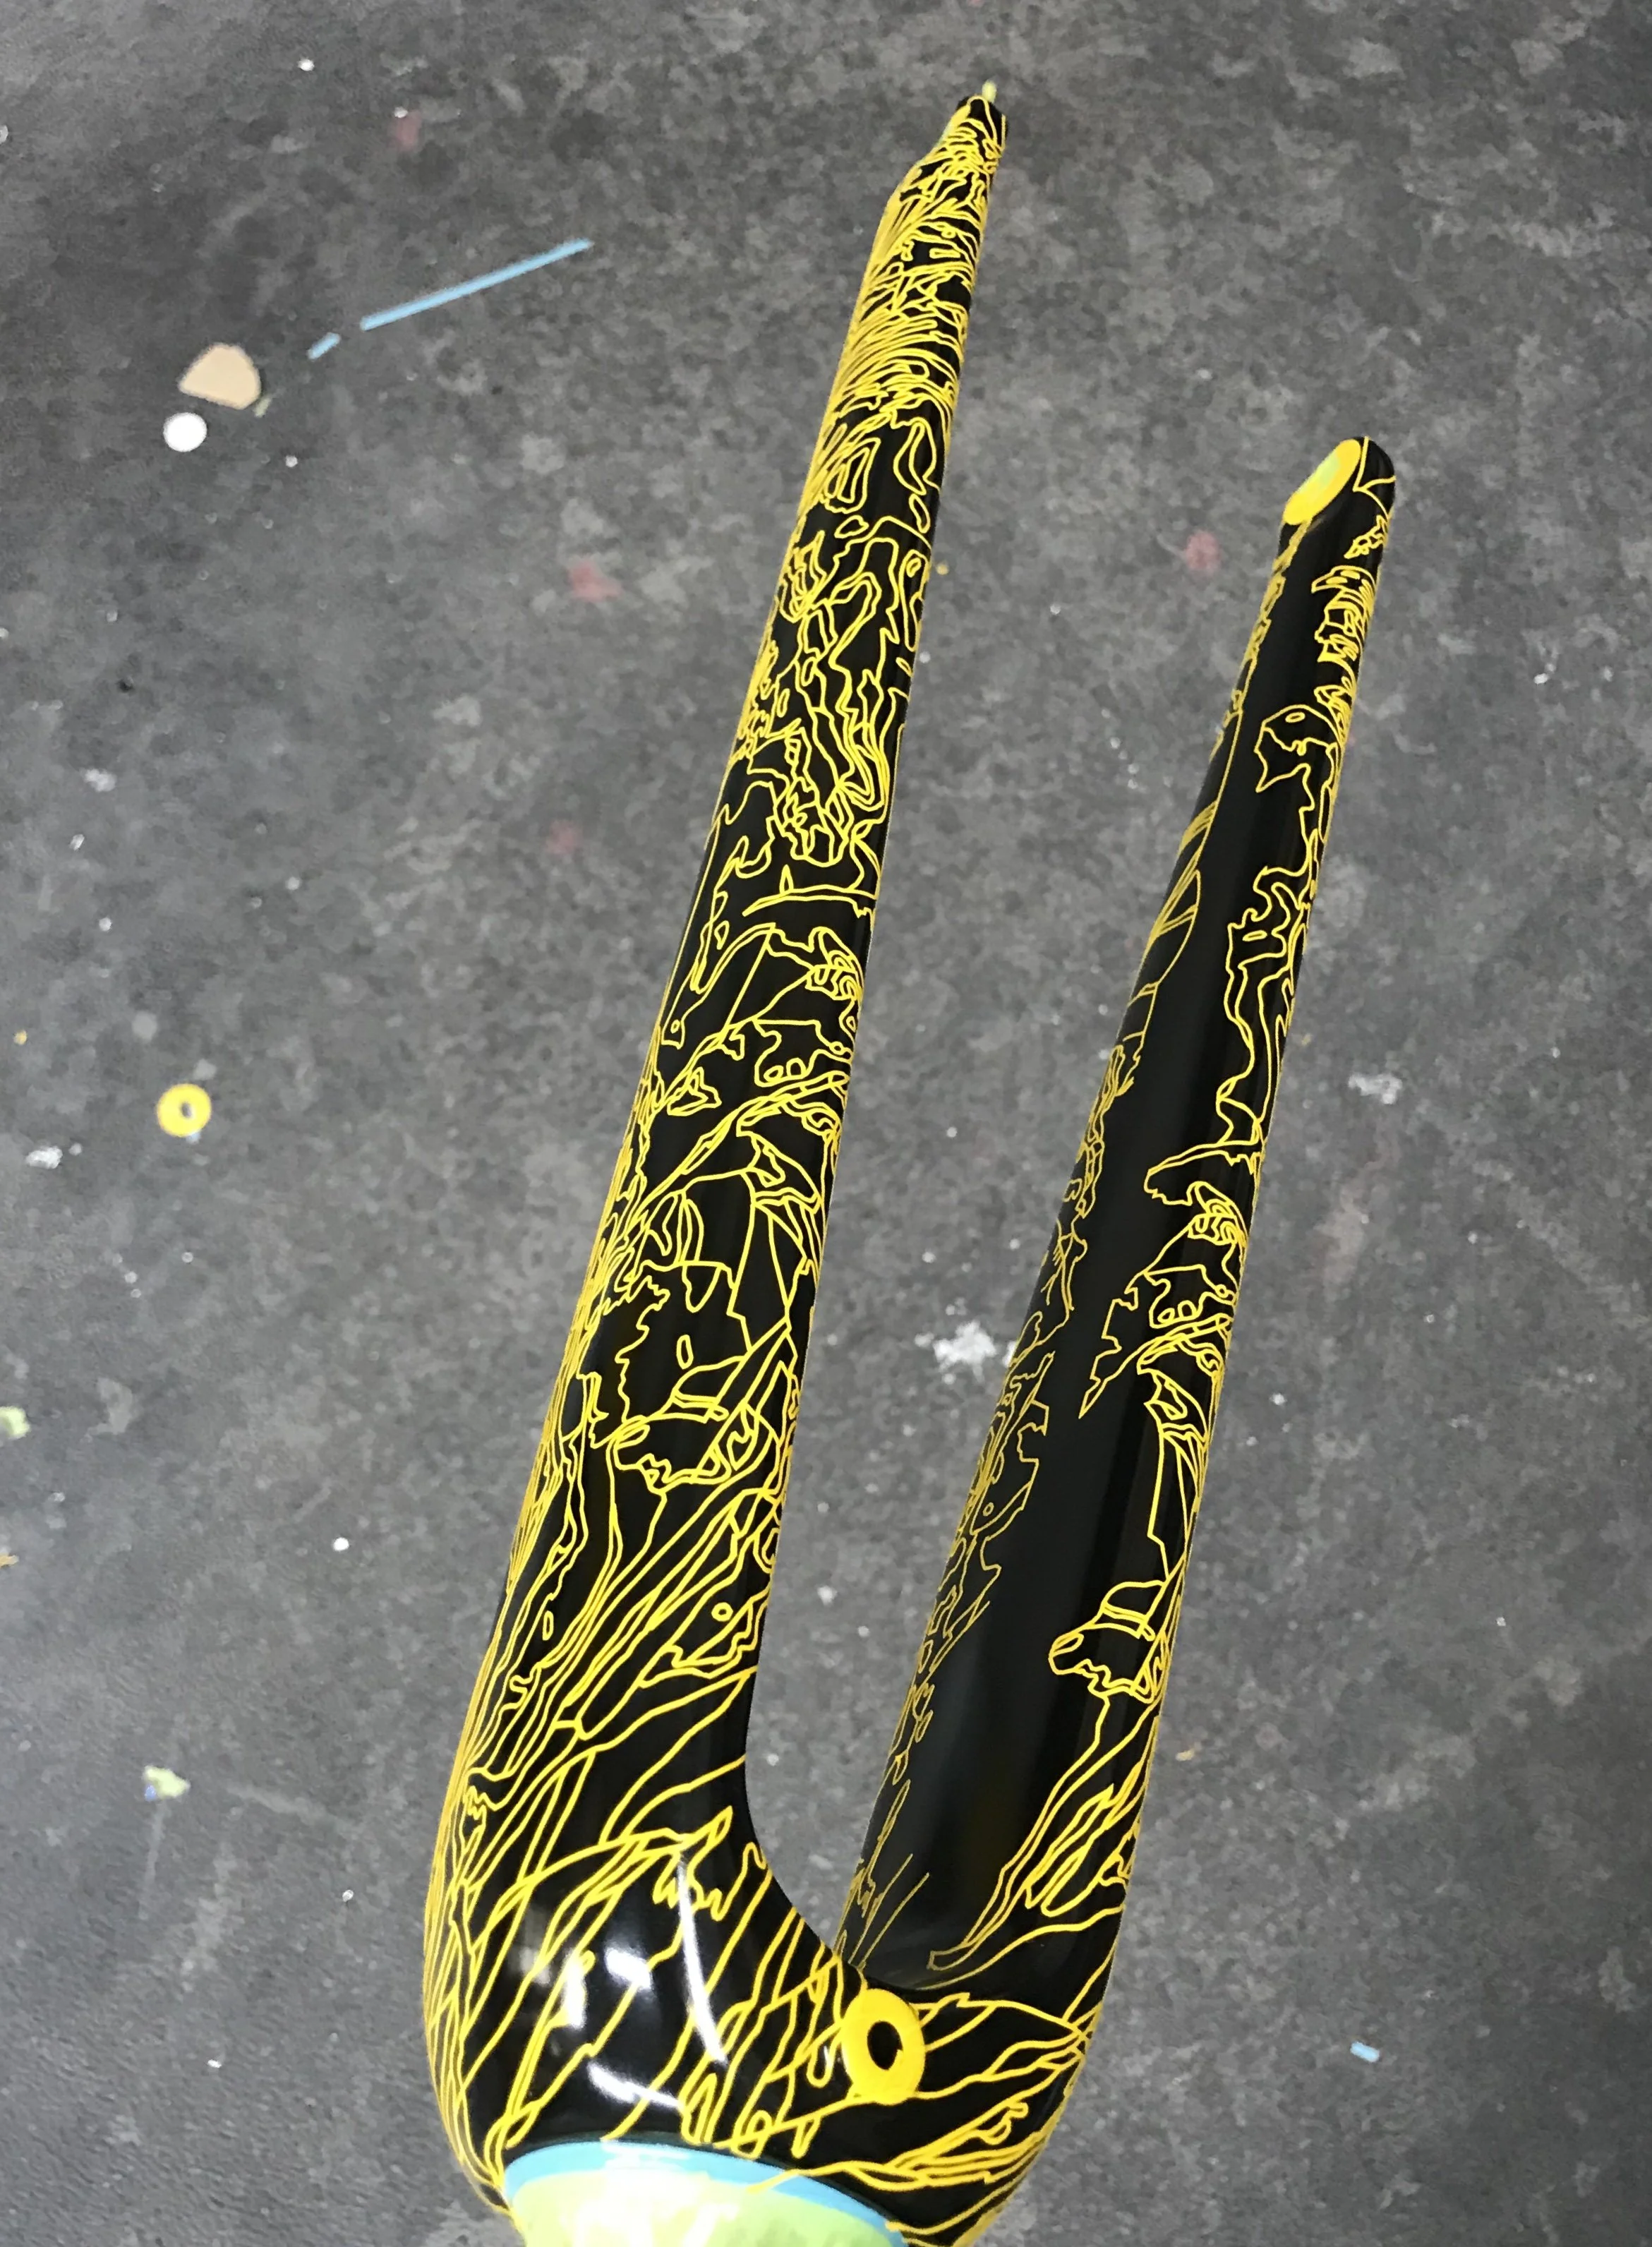
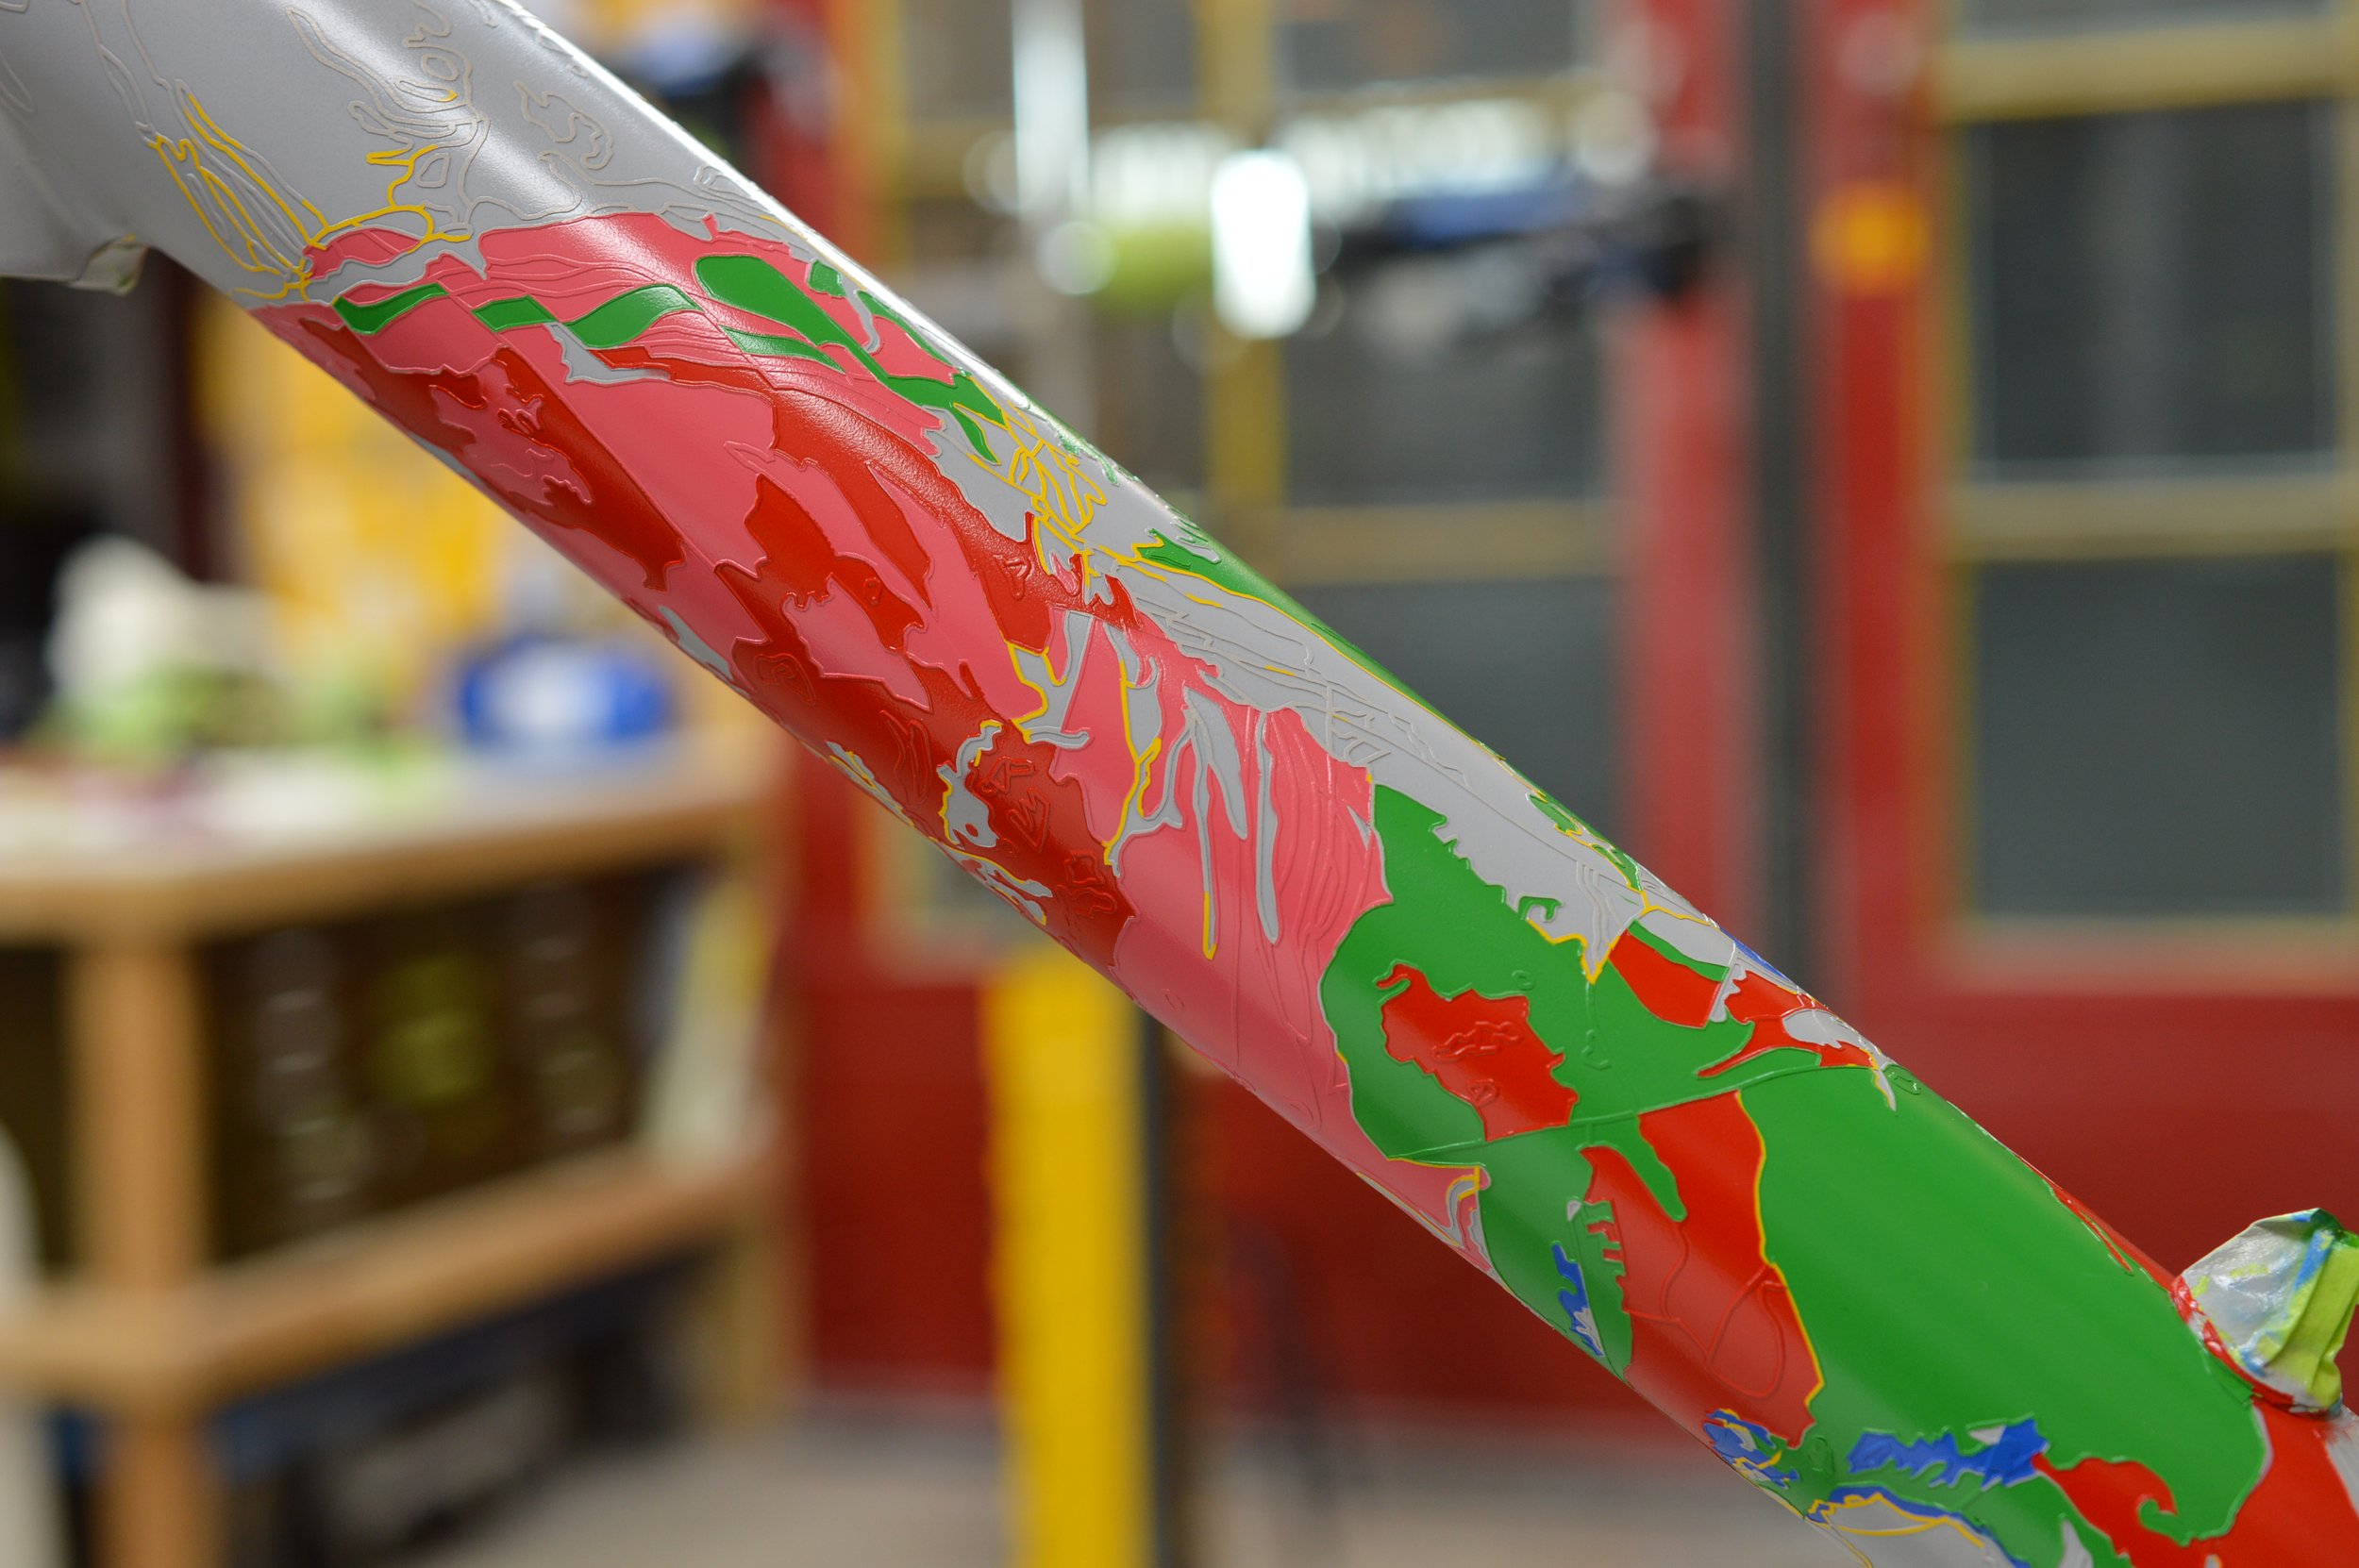
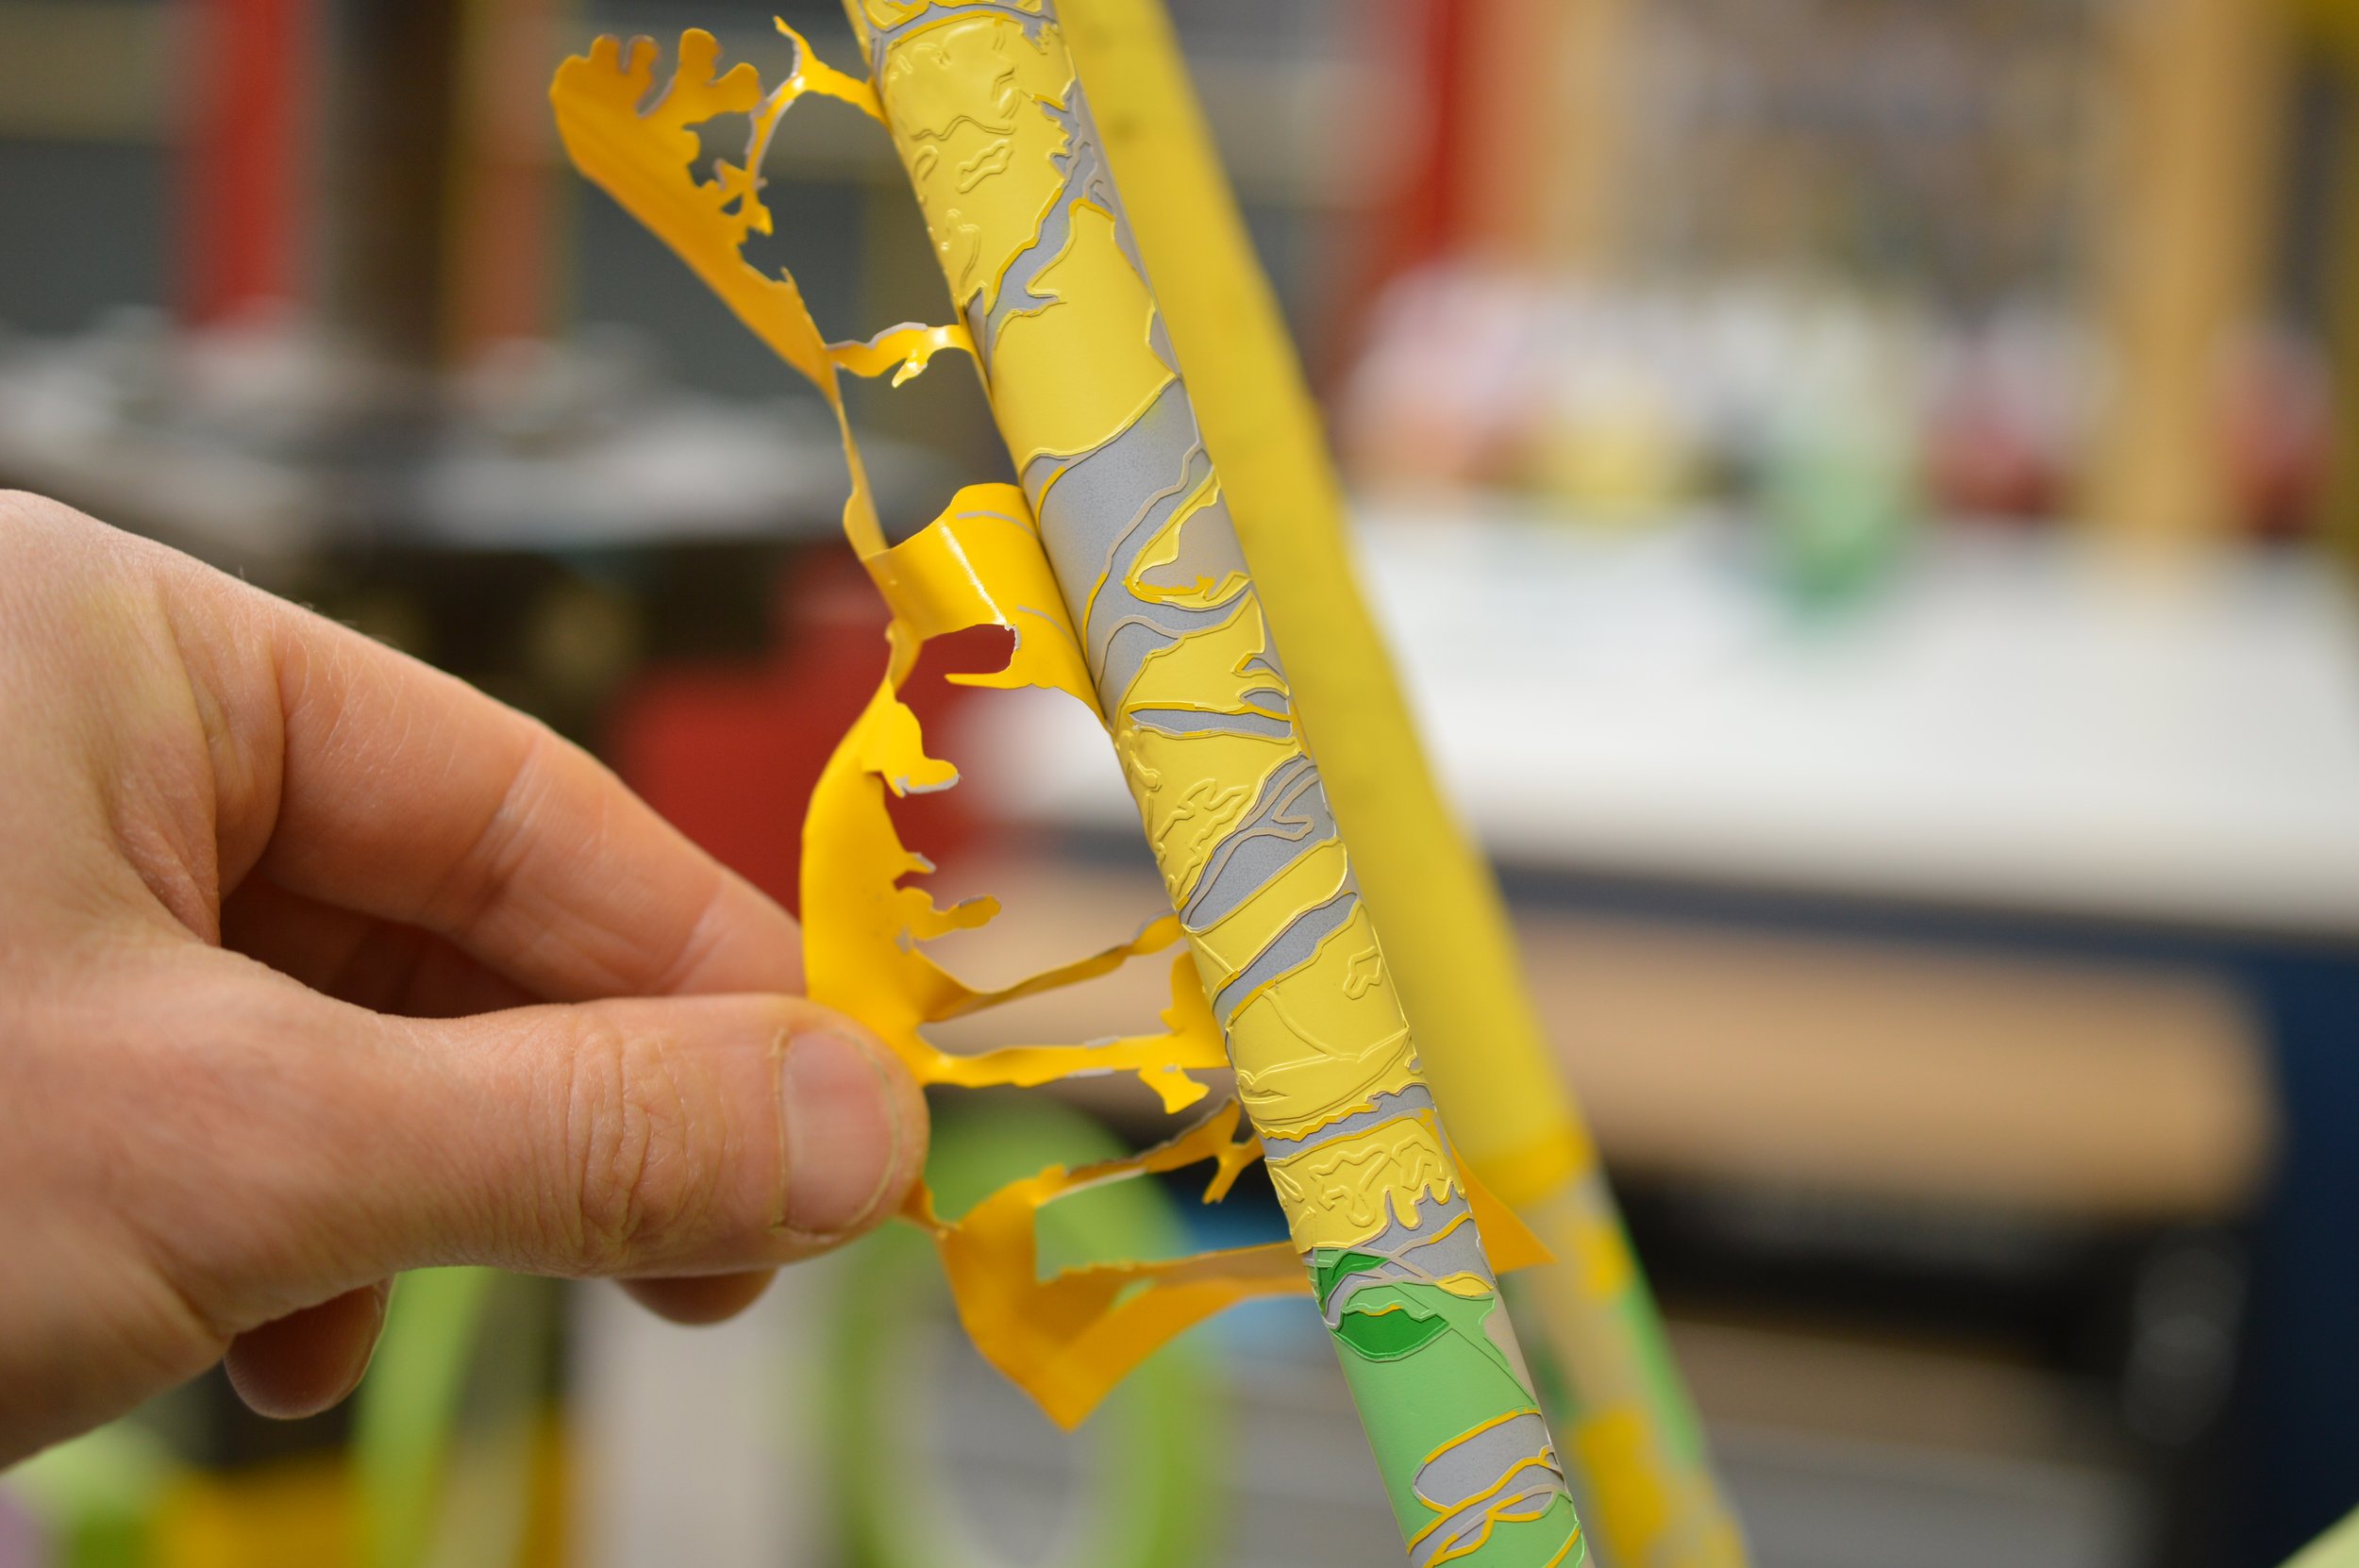
After the process was sorted we began masking the rest of the frame. Starting with a clear coated-carbon base, sanded smooth then masked to create the map outlines. In the right light you the carbon weave in the outlines shines through it’s a pretty sweet detail.
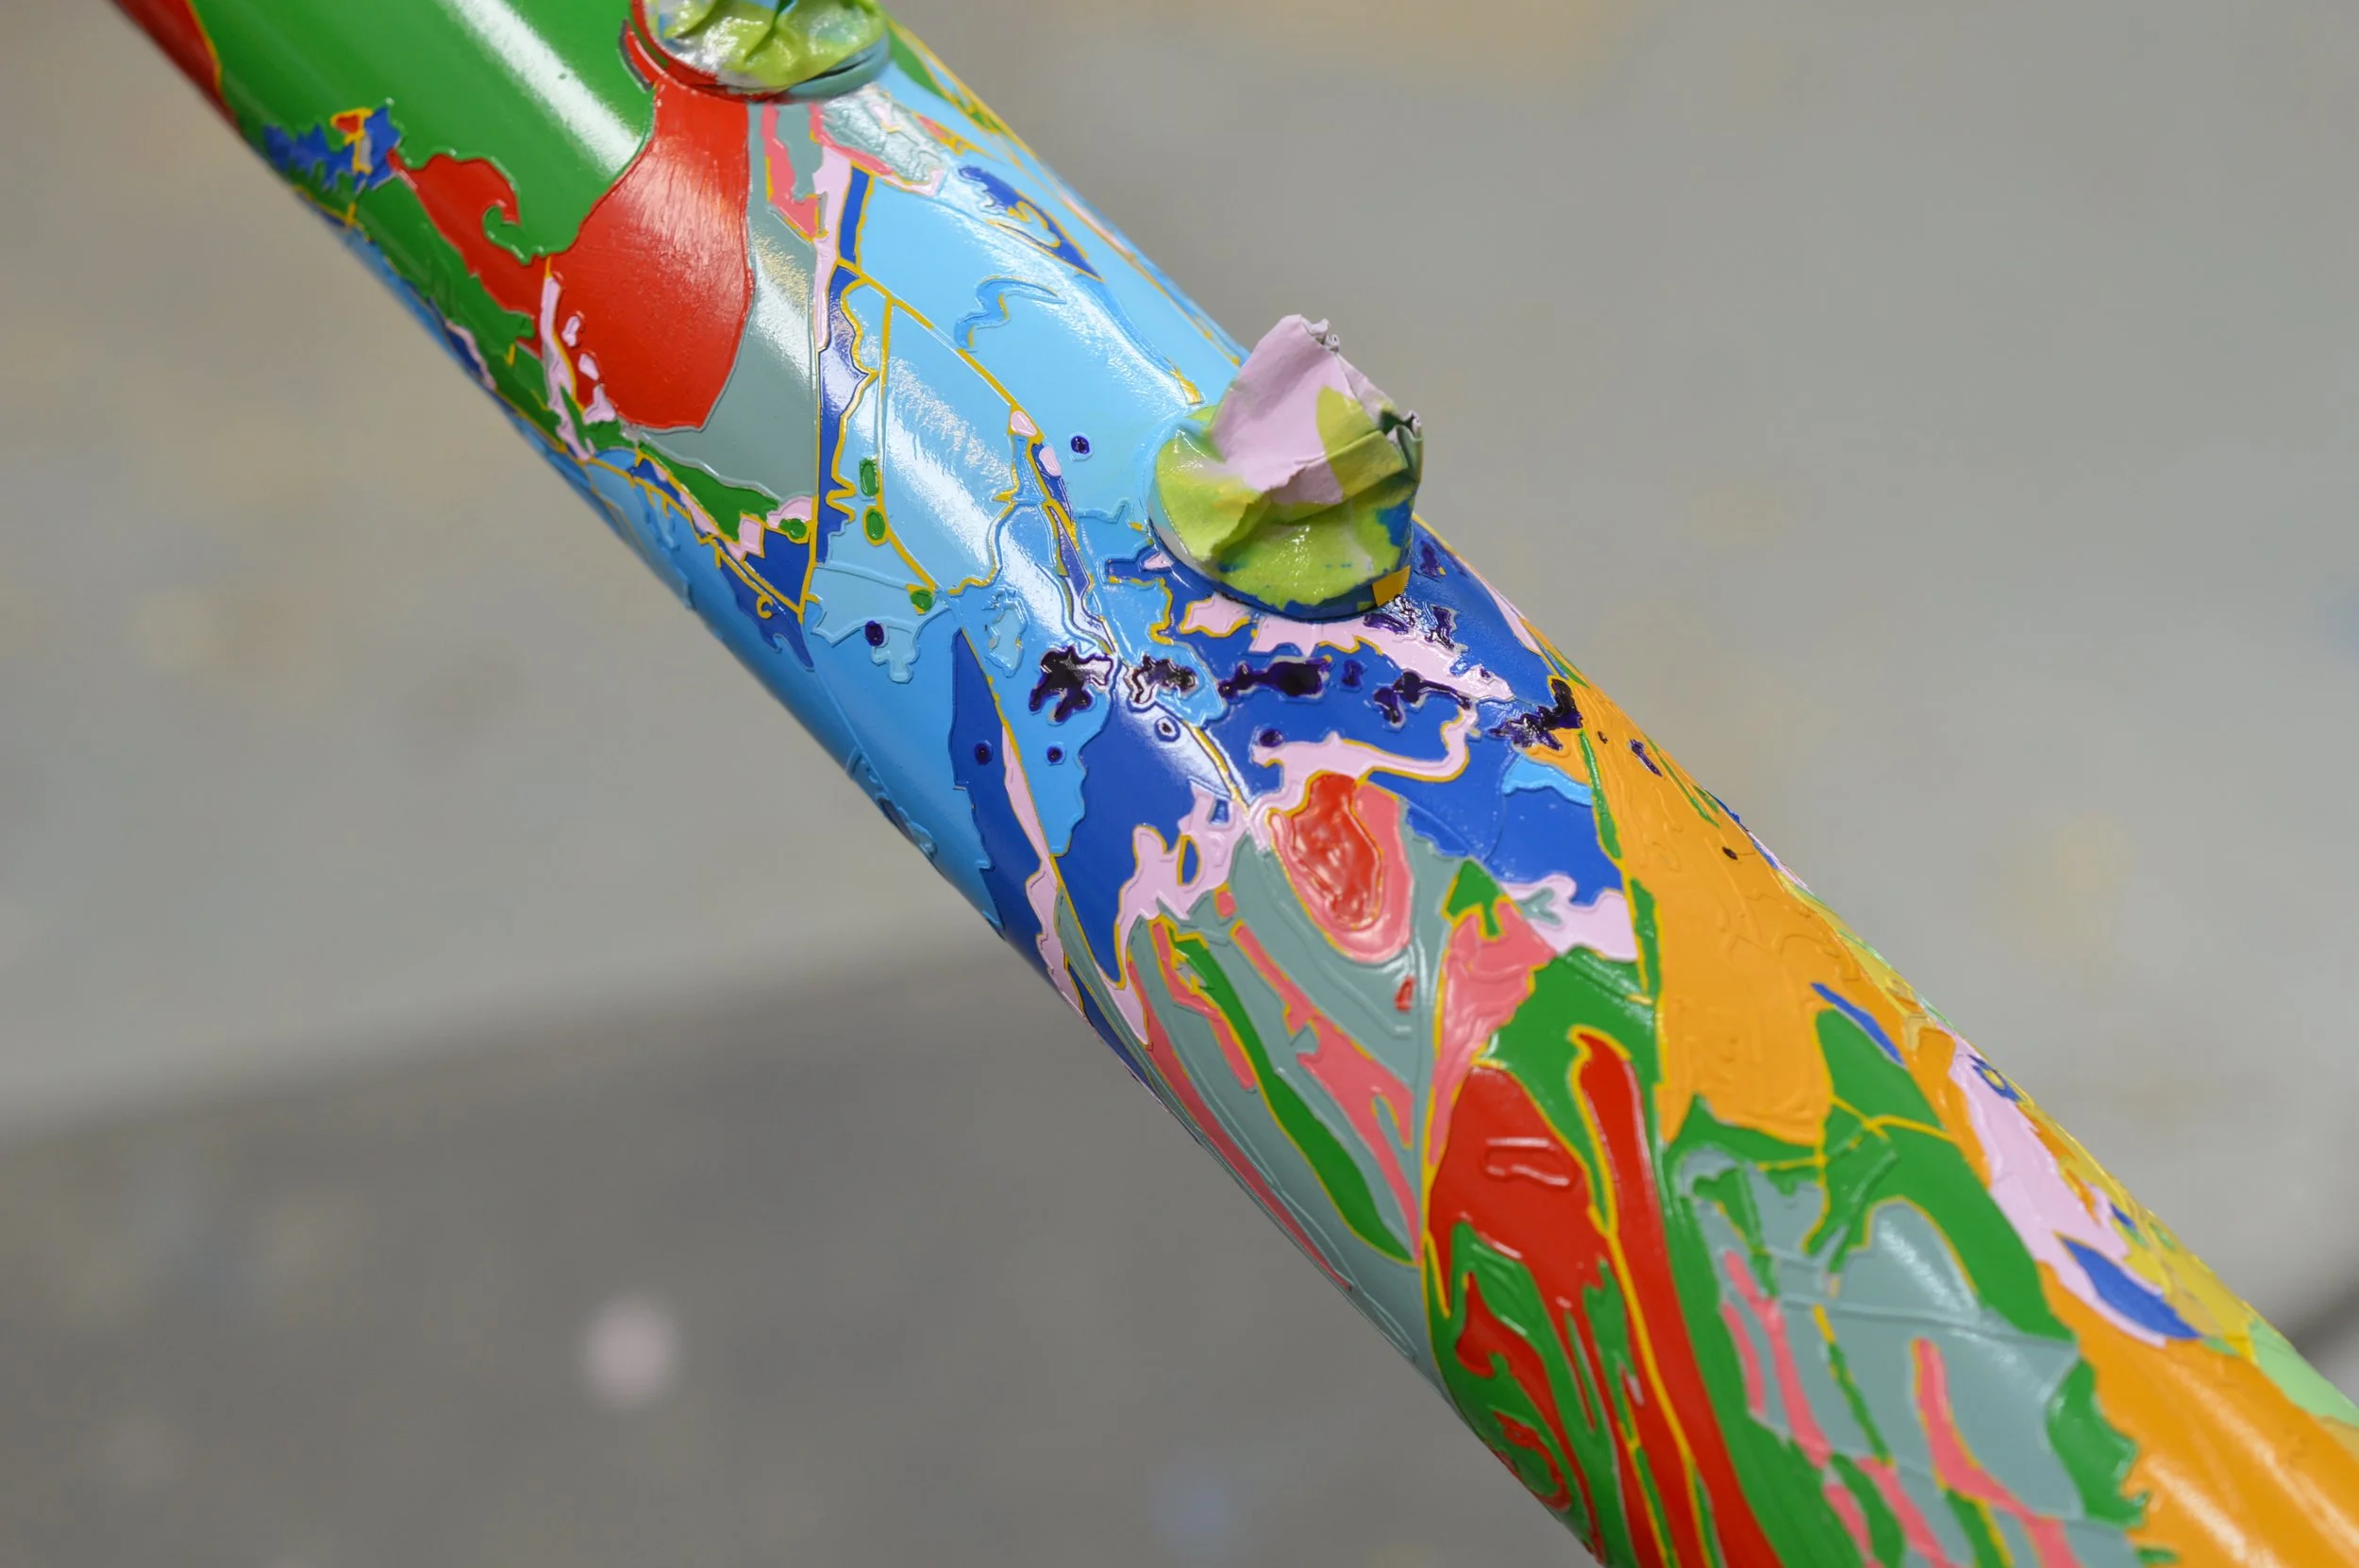
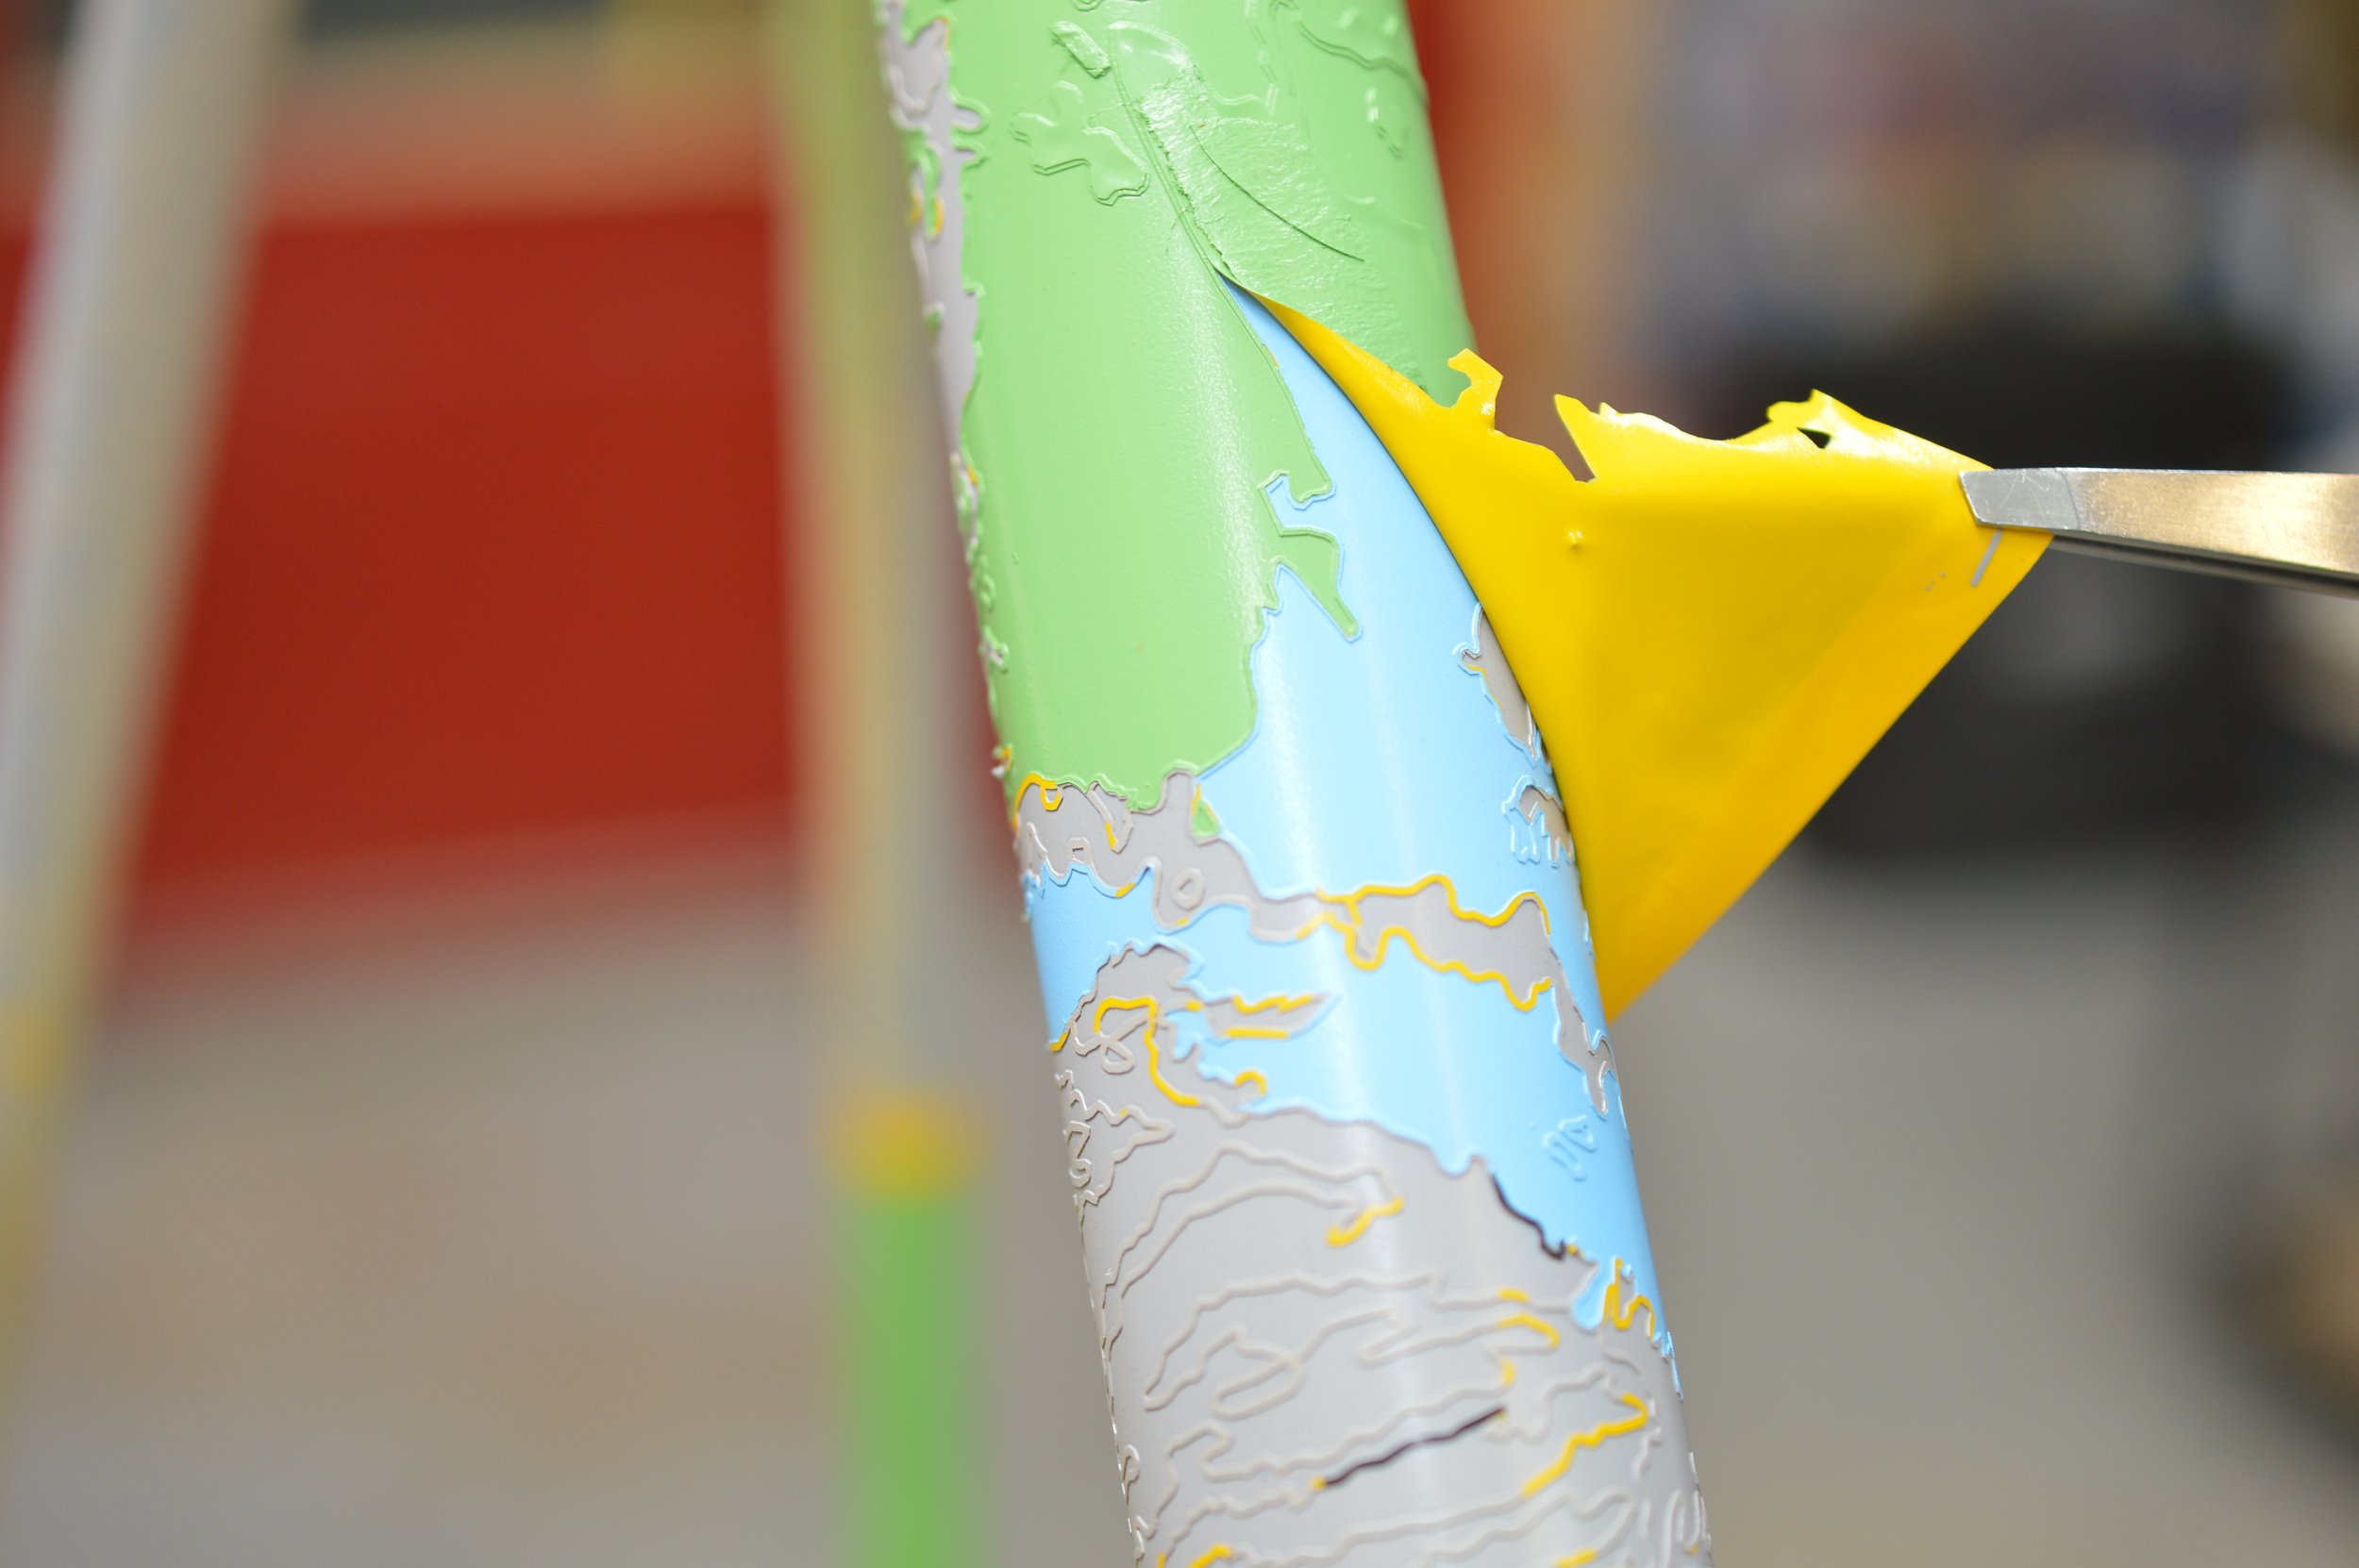
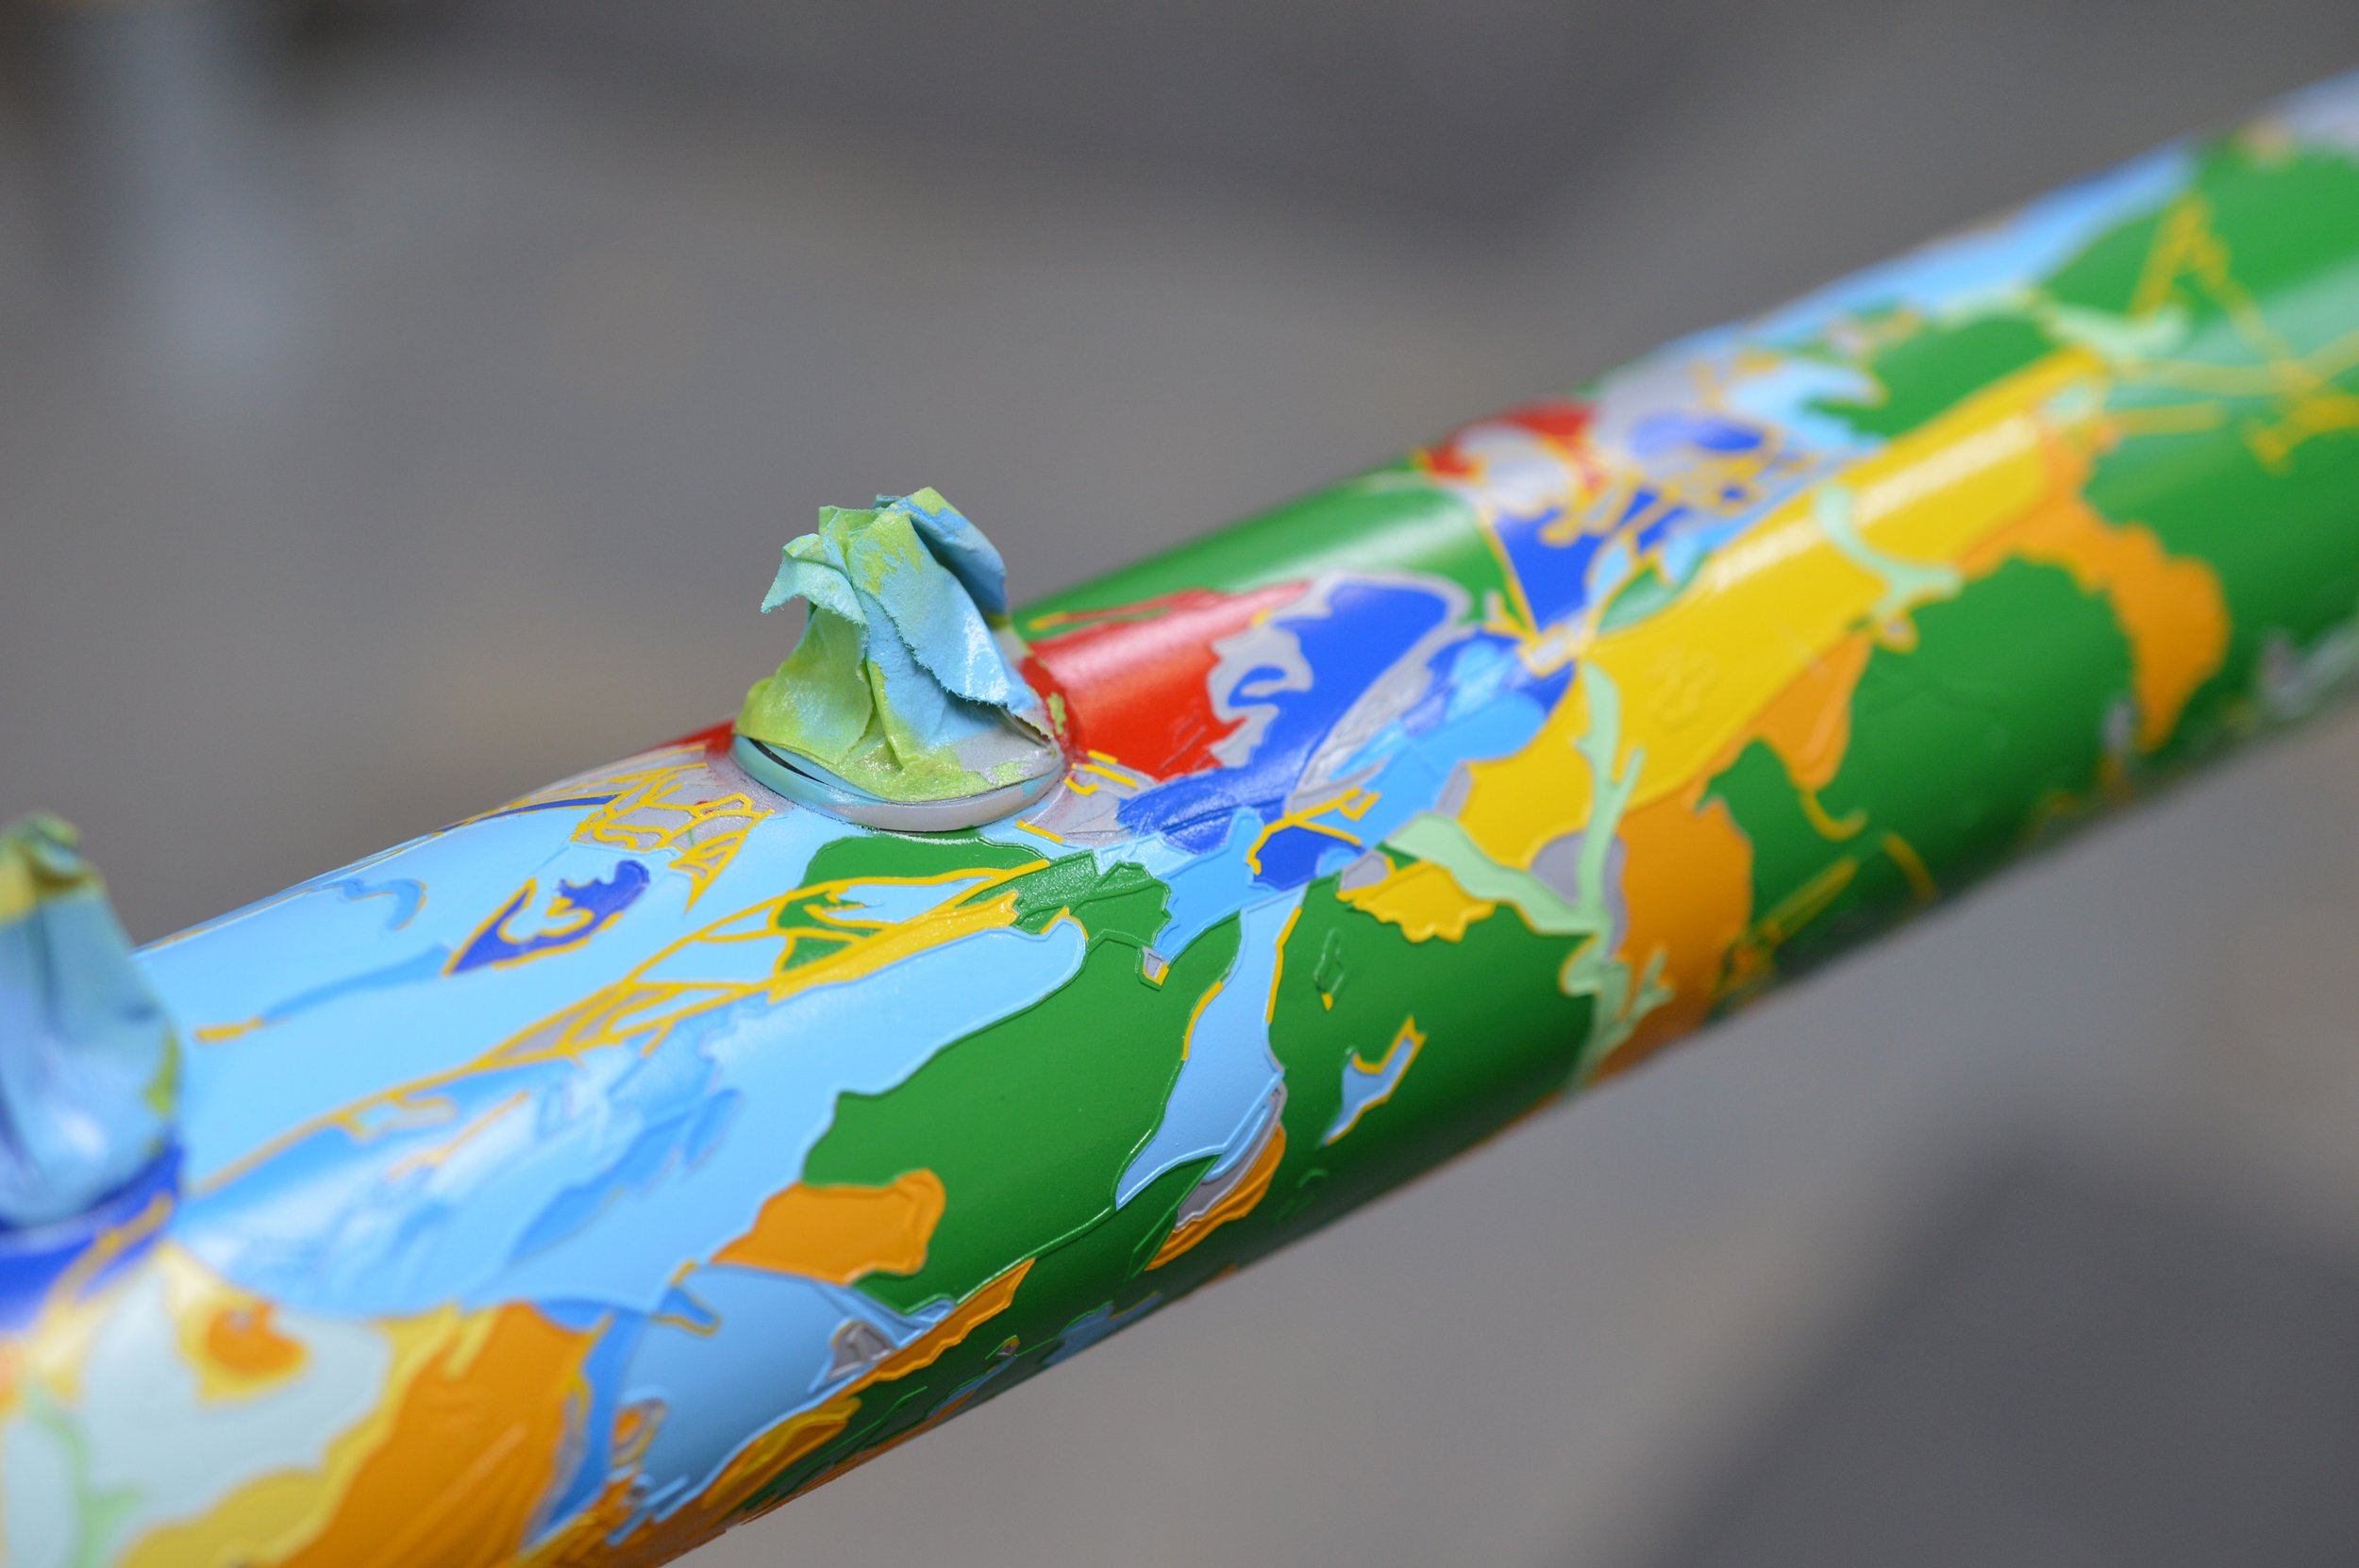
After all the carbon was masked we primed the whole frame (that’s the grey you see in the images) and then we plugged away at filling in the colours. It felt like a true paint by number project at this point with days and days of unmasking and remasking areas moving from one colour to the next.
In the end we mixed and painted 18 colours. 13 of those we sprayed and the last 6 we brushed into to the smaller areas.
The most fun part of any project, and especially here, was unmasking all the thin black lines re-exposing the carbon weave between colour blocks.
Here is a video with a few action shots from the paint process.
Finally the finished product! (Click to view the gallery)
If you have an idea for a project shoot us an email, let us know your budget and we will make it happen!


